New entry or receipt for the cashbook
1. Go to the Cash Book
Click on the " Management " button to open the menu. Then click on " Cash book ".

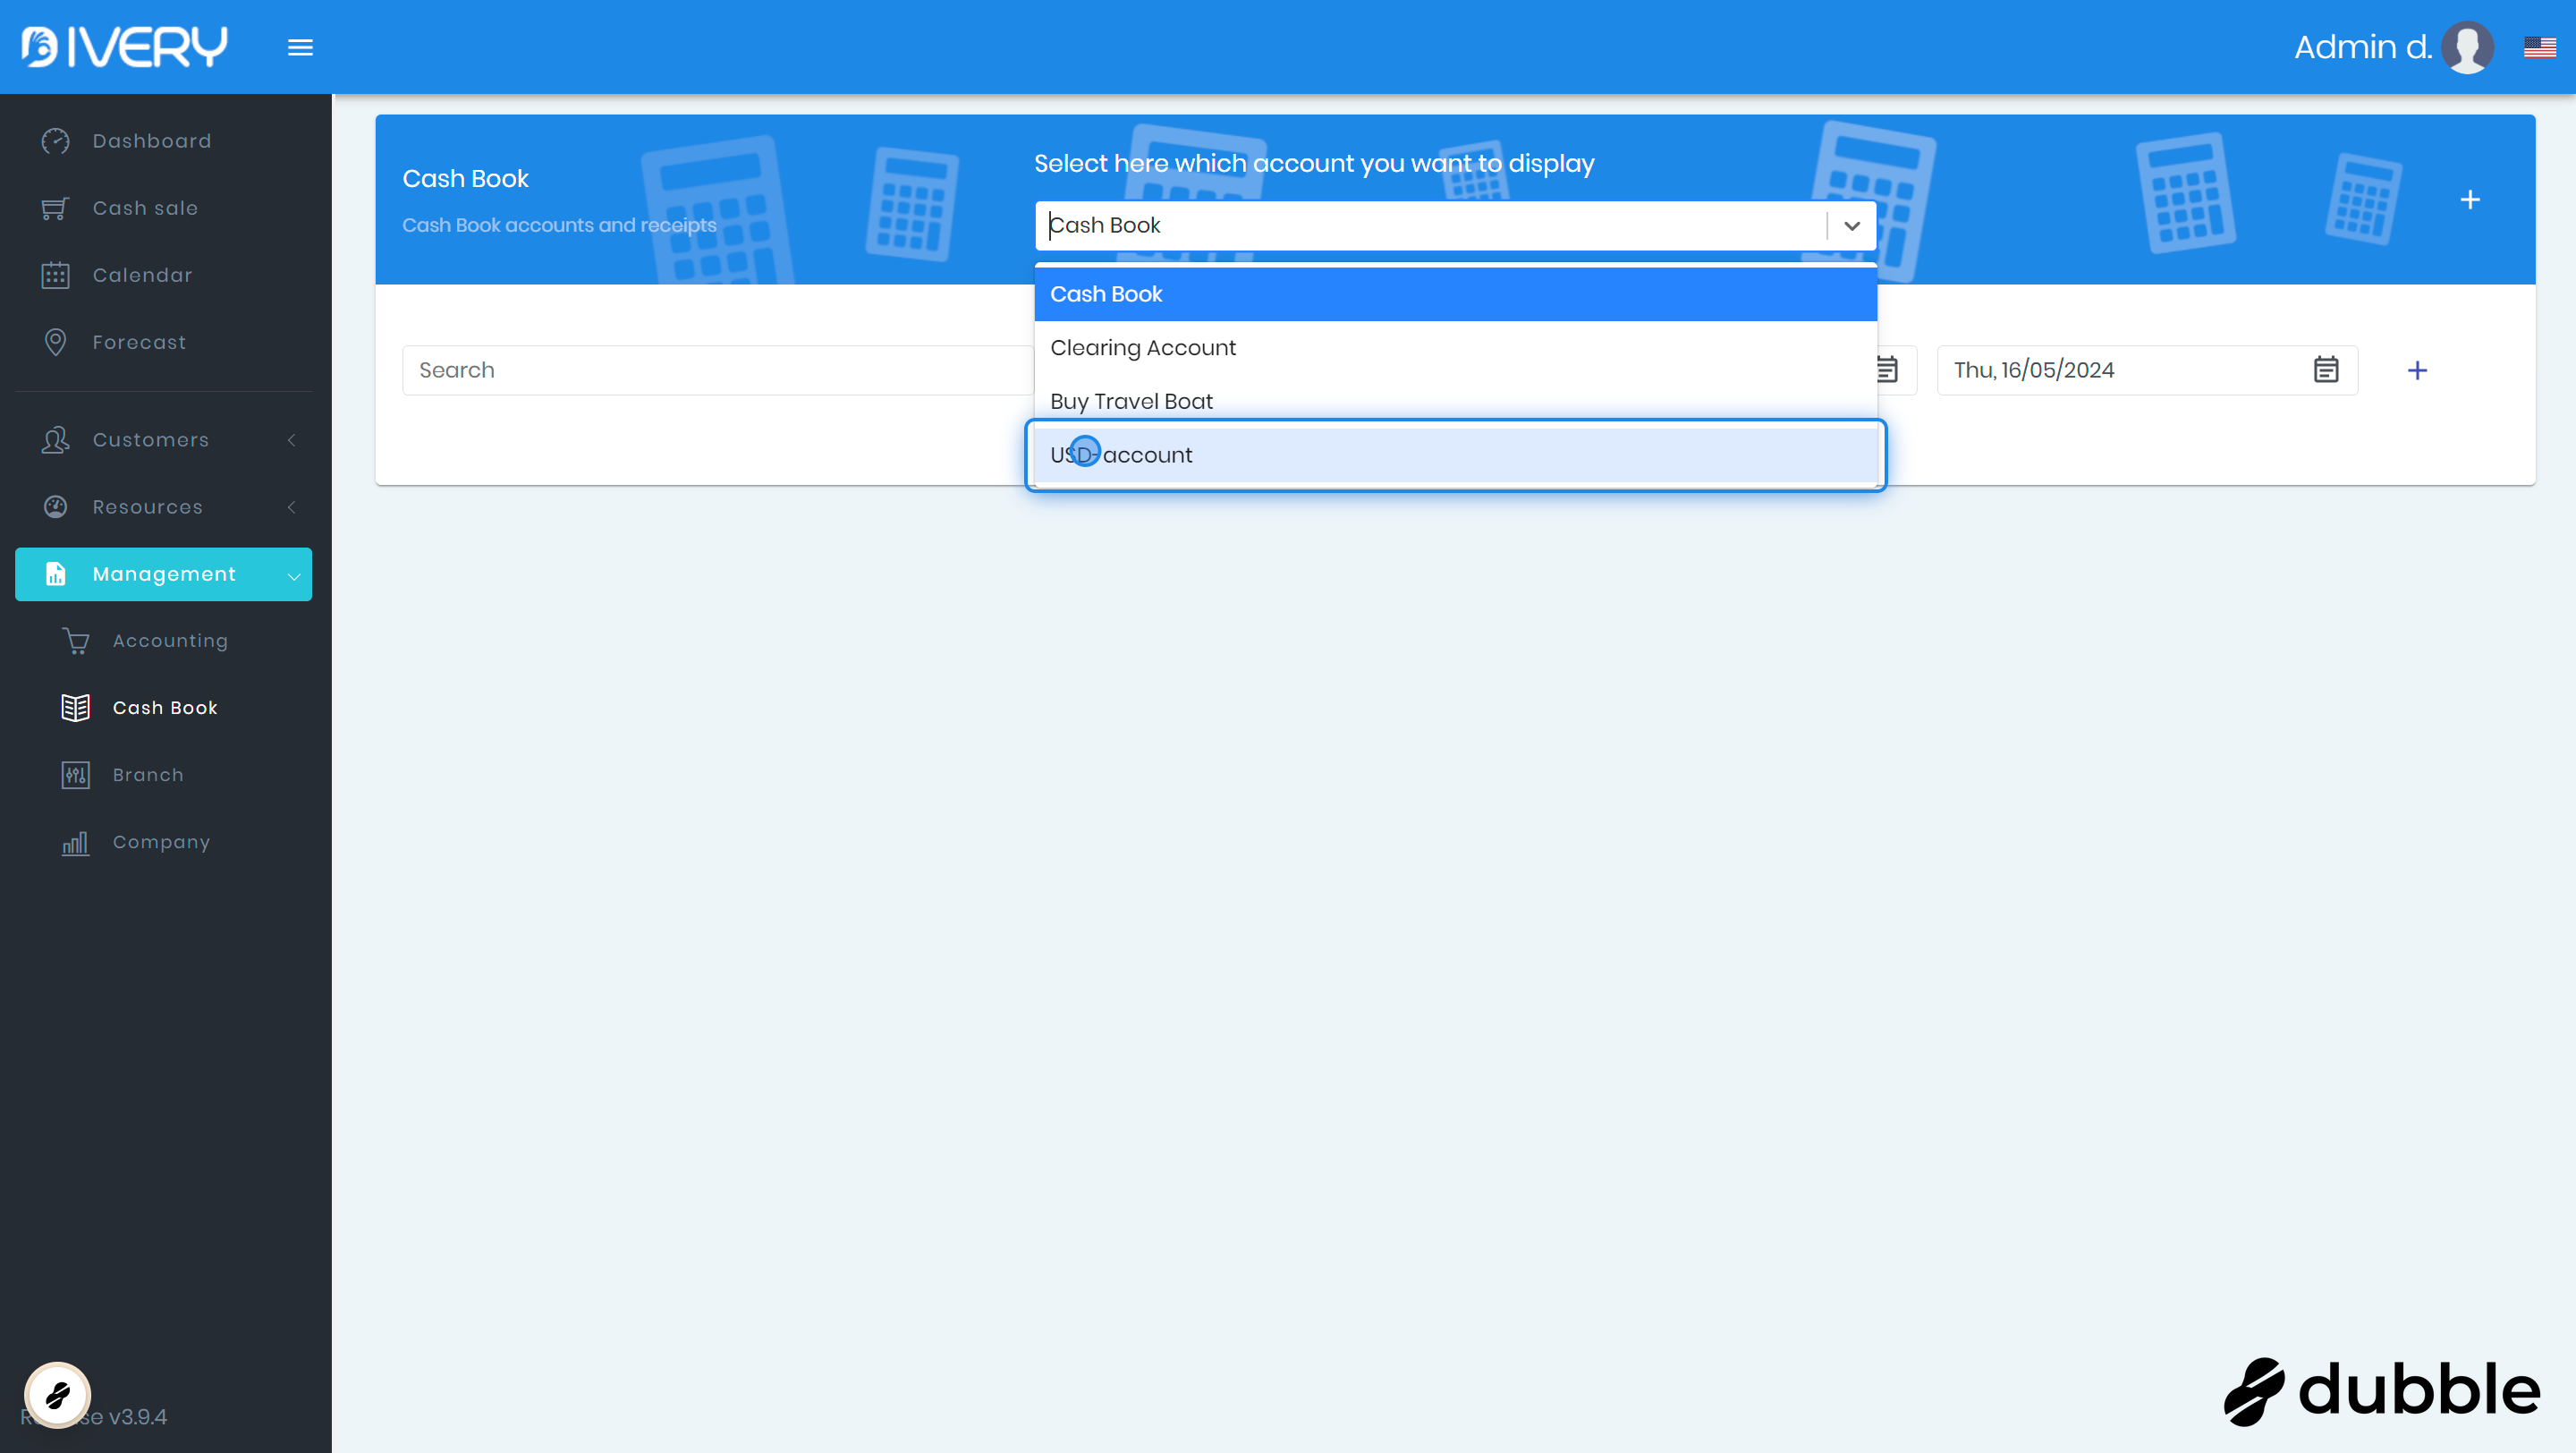
2. Select an account
Click on the dropdown menu on top and select the account you want to view.
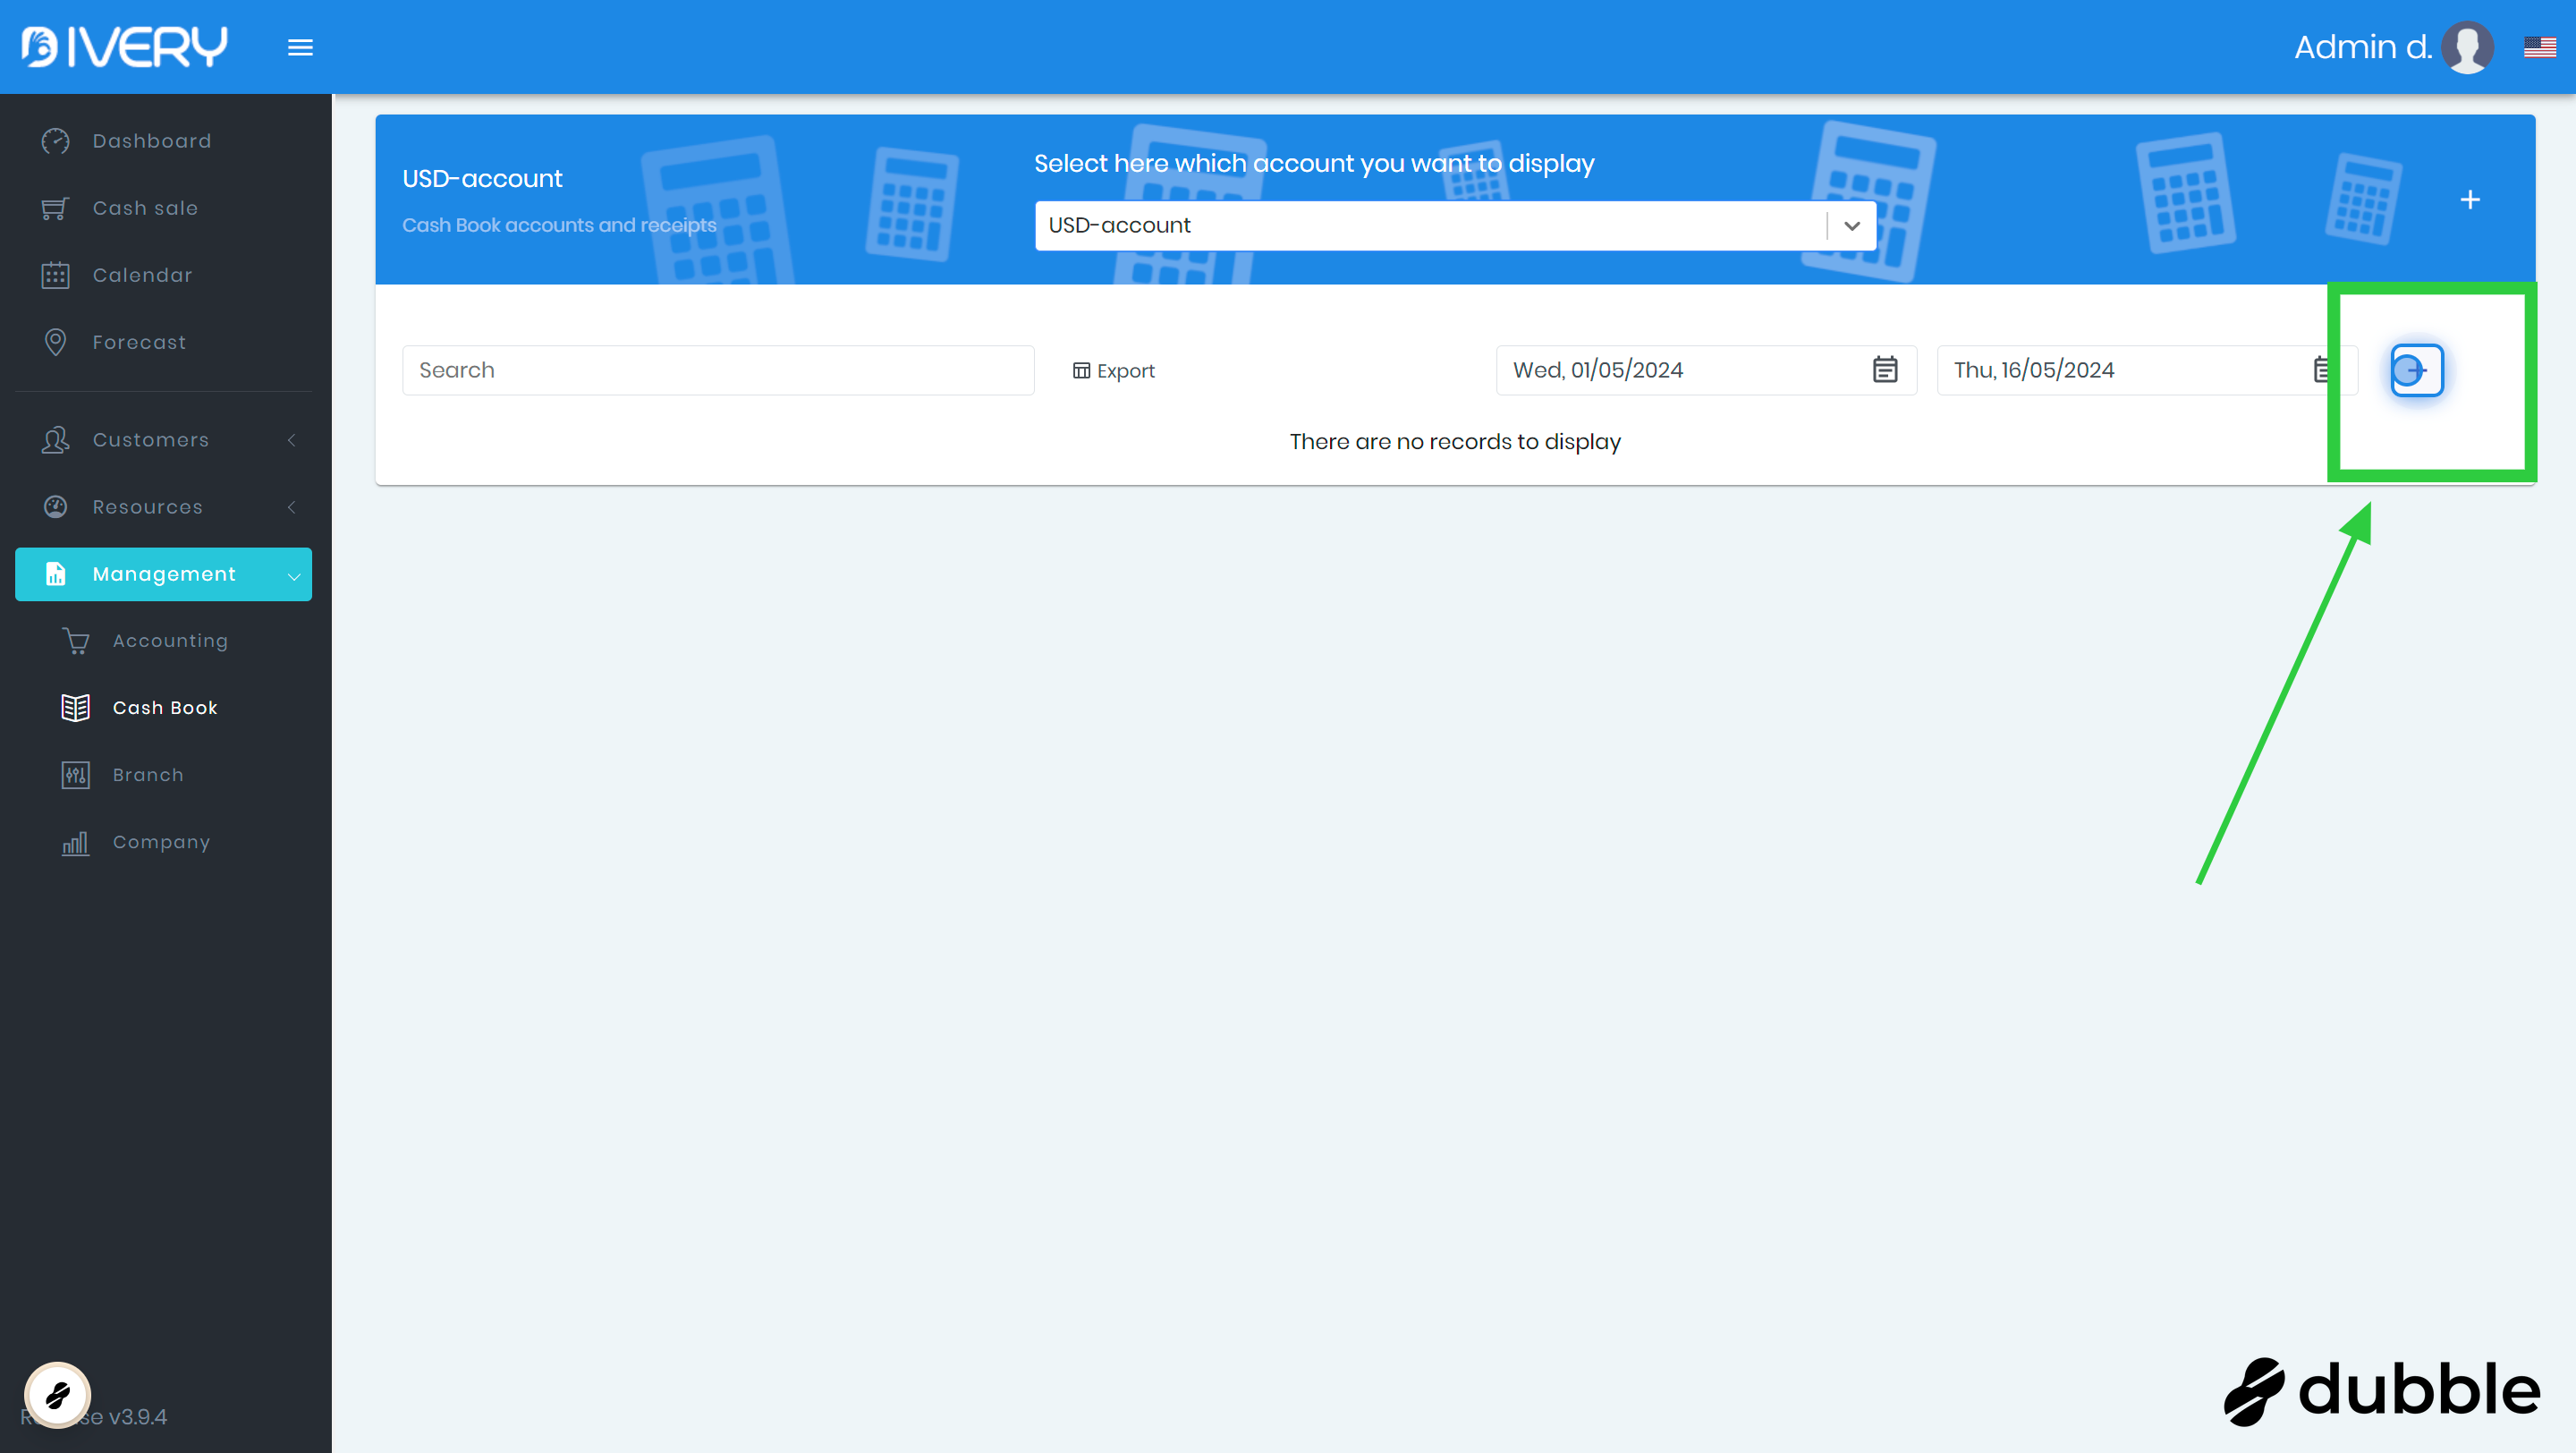
3. Add a new entry for the selected account
Click on the " + " on the right side to add a new entry for this account.
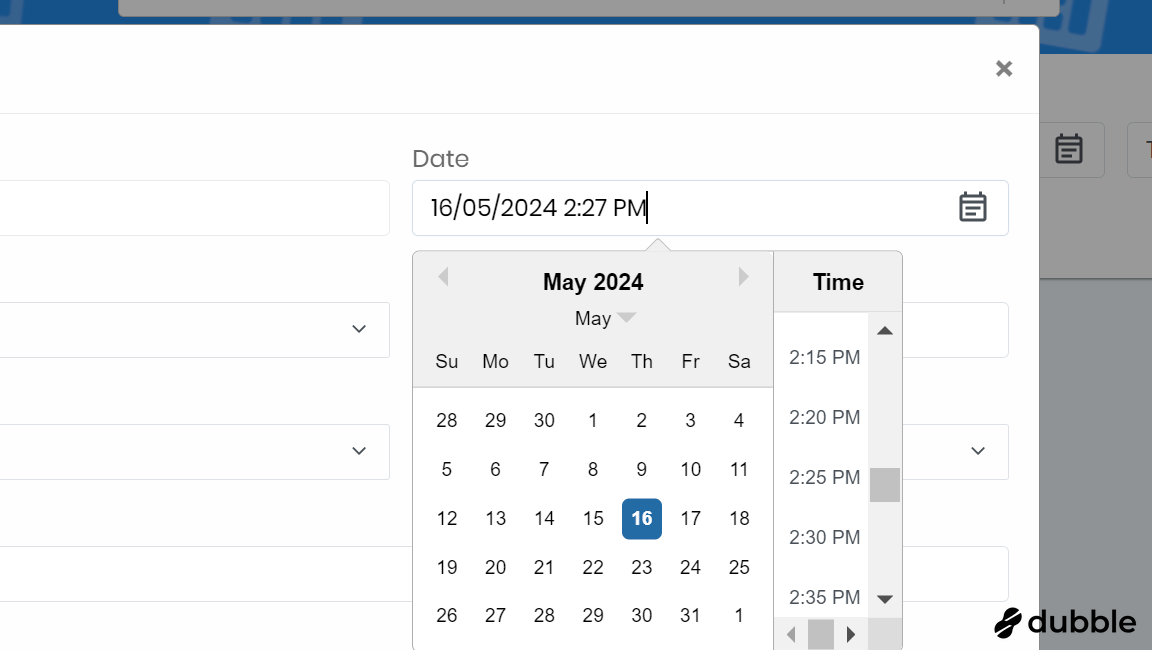
4. Select a date
Select the date for this entry. As a default, the date of today is selected.
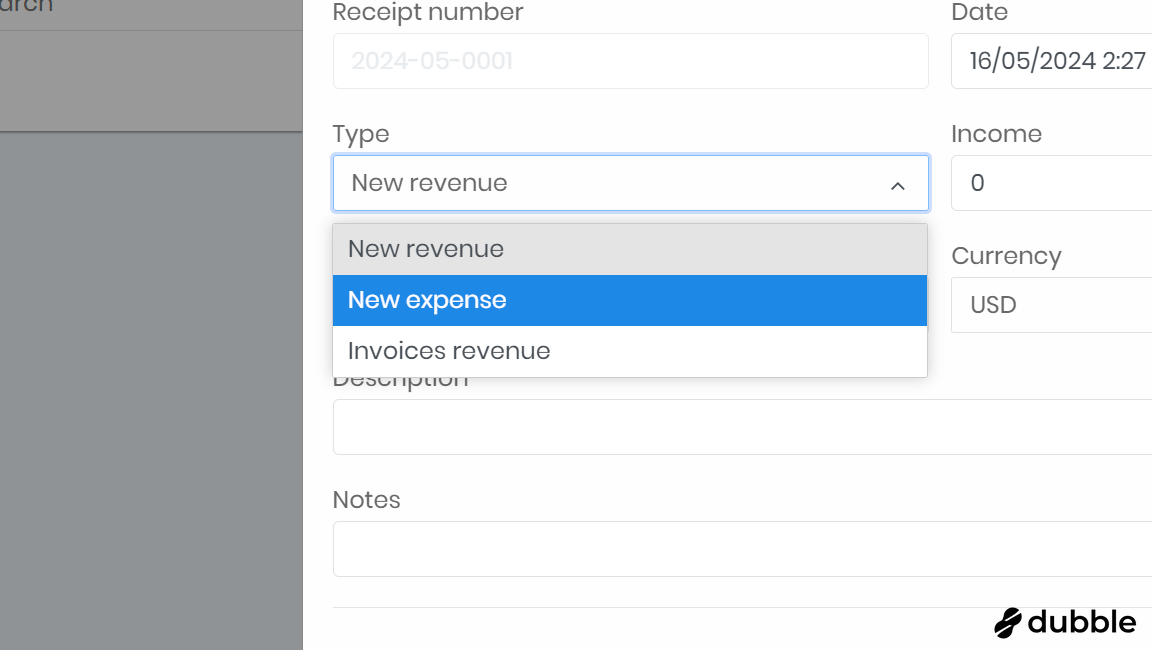
5. Select the type of entry
Is this entry a new revenue or a new expense, select the type here.
6. Type in the amount
Here you can type the amount of the revenue or expense.
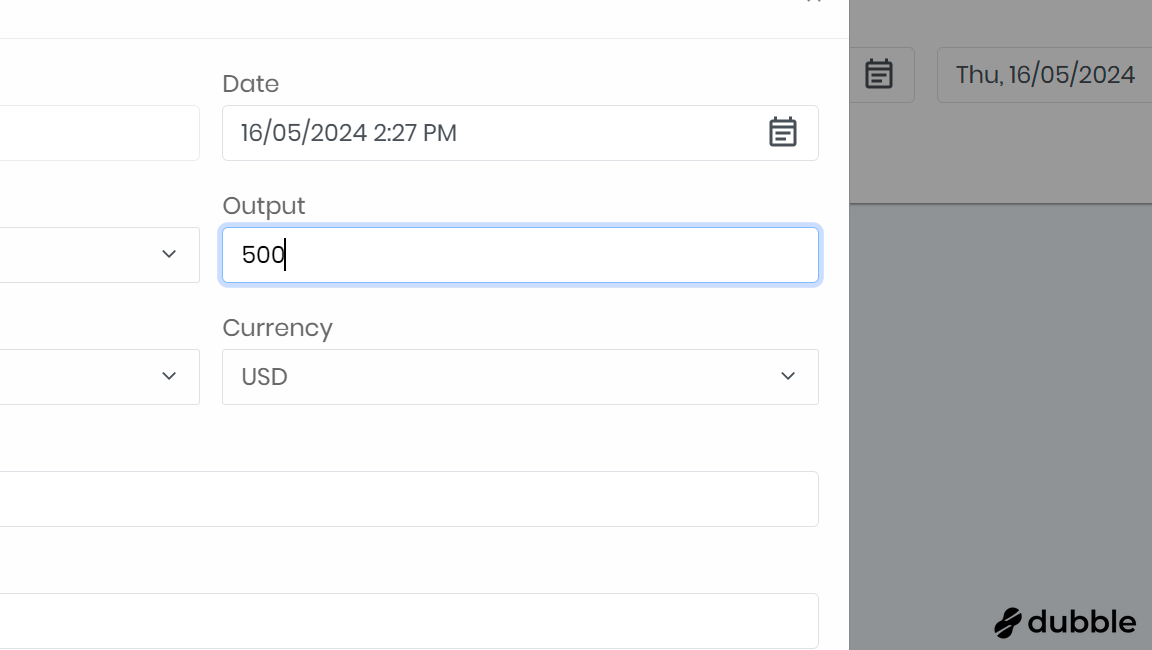
7. Select the currency
If you select a currency that is not the standard currency in your branch, 2 further fields will appear ("rate" and "exchange"). The rate shows the conversion rate that is used. The exchange shows the amount in the standard currency you have selected in the settings. If you select your standard currency (selected as default) no exchange rate is applied and the 2 additional fields will not be visible.
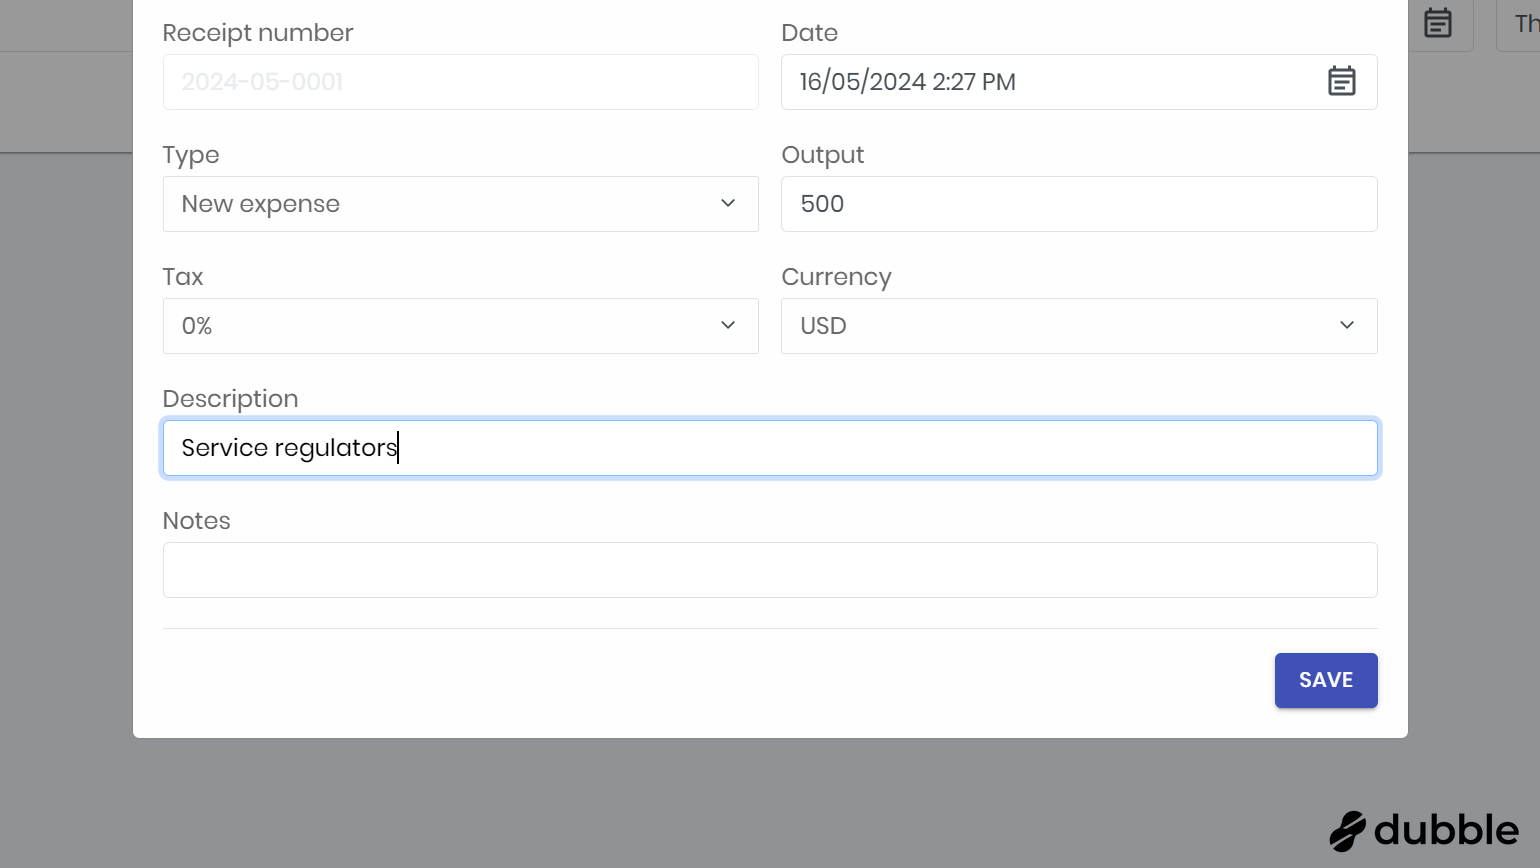
8. Select the tax amount
Here you can select the tax amount from the dropdown menu. If taxes are not applicable, you can keep 0% selected.

9. Type a description
Type a description for this entry.
10. Type a note
Additionally, you can type a note that gives further information about this entry.
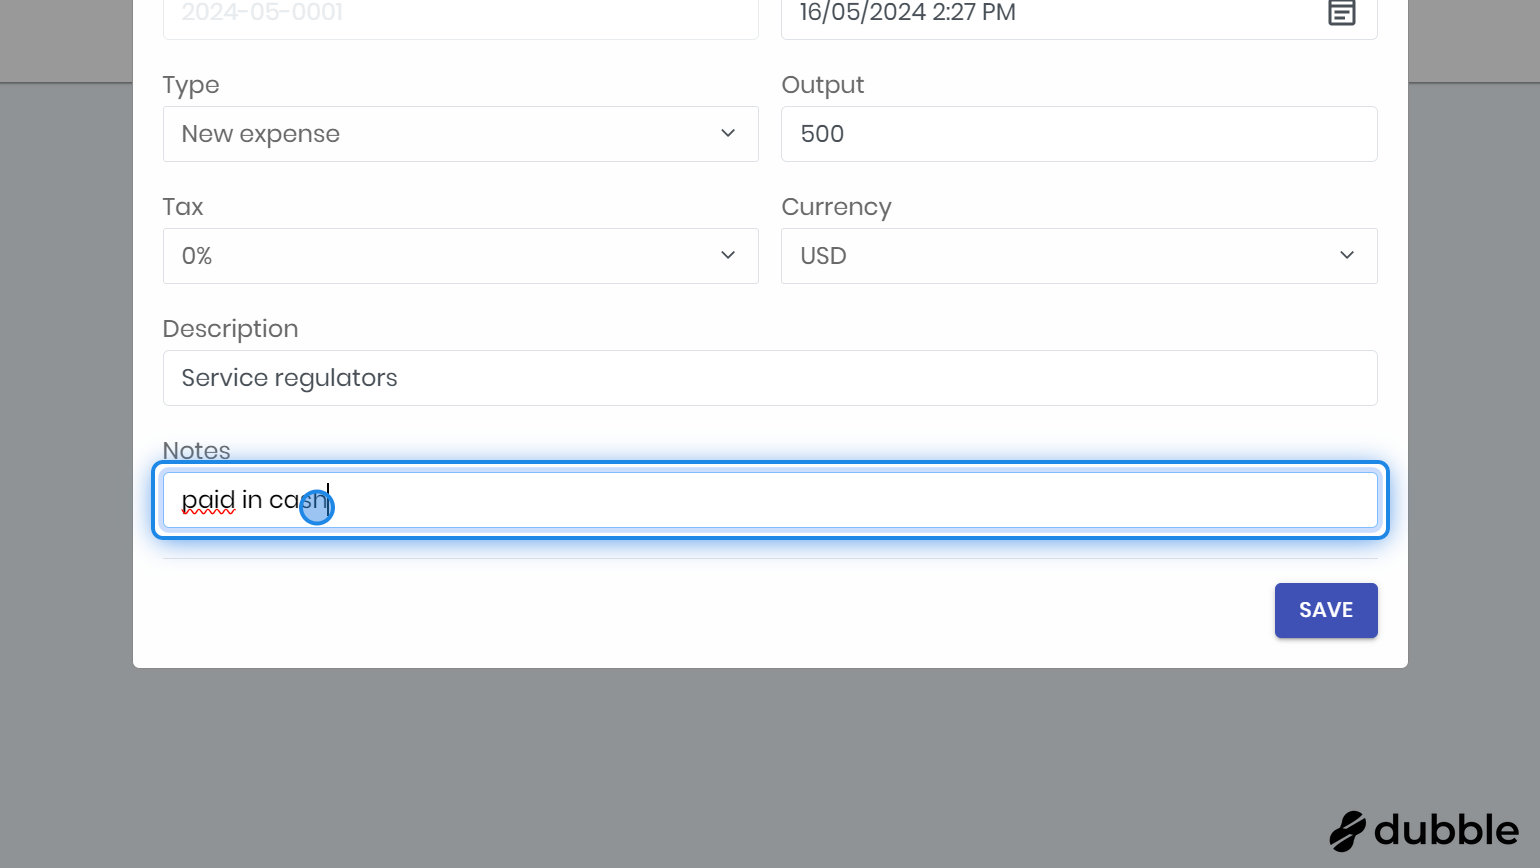
11. Click "SAVE"
Click on the " SAVE " button to save this entry.
12. View the new entry
After saving you will see the new entry in the table for the selected account.
Related Articles
Cancel an invoice
Learn here how you can cancel an invoice and create a new invoice to replace the old one. 1. Go to "Accounting" You can find accounting under the "Management" tab. Select the first tab, "Invoices," to view the invoices. 2. Click on the " ... " button ...Cash Book
Here you can keep track of your different accounts and the amount in the cash register. You can create your own accounts. Keep track of your income and expenses on each account so you always have the overview. 1. Go to the Cash Book Click on the " ...Invoices table
Here, you'll find an overview of the invoices table and instructions on how to use it. 1. Go to Accounting You can find accounting under the management tab. 2. Click on the first tab "Invoices" Make sure the first tab " Invoices " is selected. 3. ...settlements / turnover
Here, you'll learn how to use the Settlements tab. You can view your turnover for each product, rental, or service within a specified time period. 1. Go to accounting You can find accounting under the management tab. 2. Click on the second tab ...Self check-in: link and QR-code
Here, you will learn where to find the self check-in link or QR code and how to use it. With the self scheck-in, new customers can create their profile for your center from home so you can save time. Important for Hybrid Users If you use both a local ...