Currencies in your center
1. Go to the branch settings
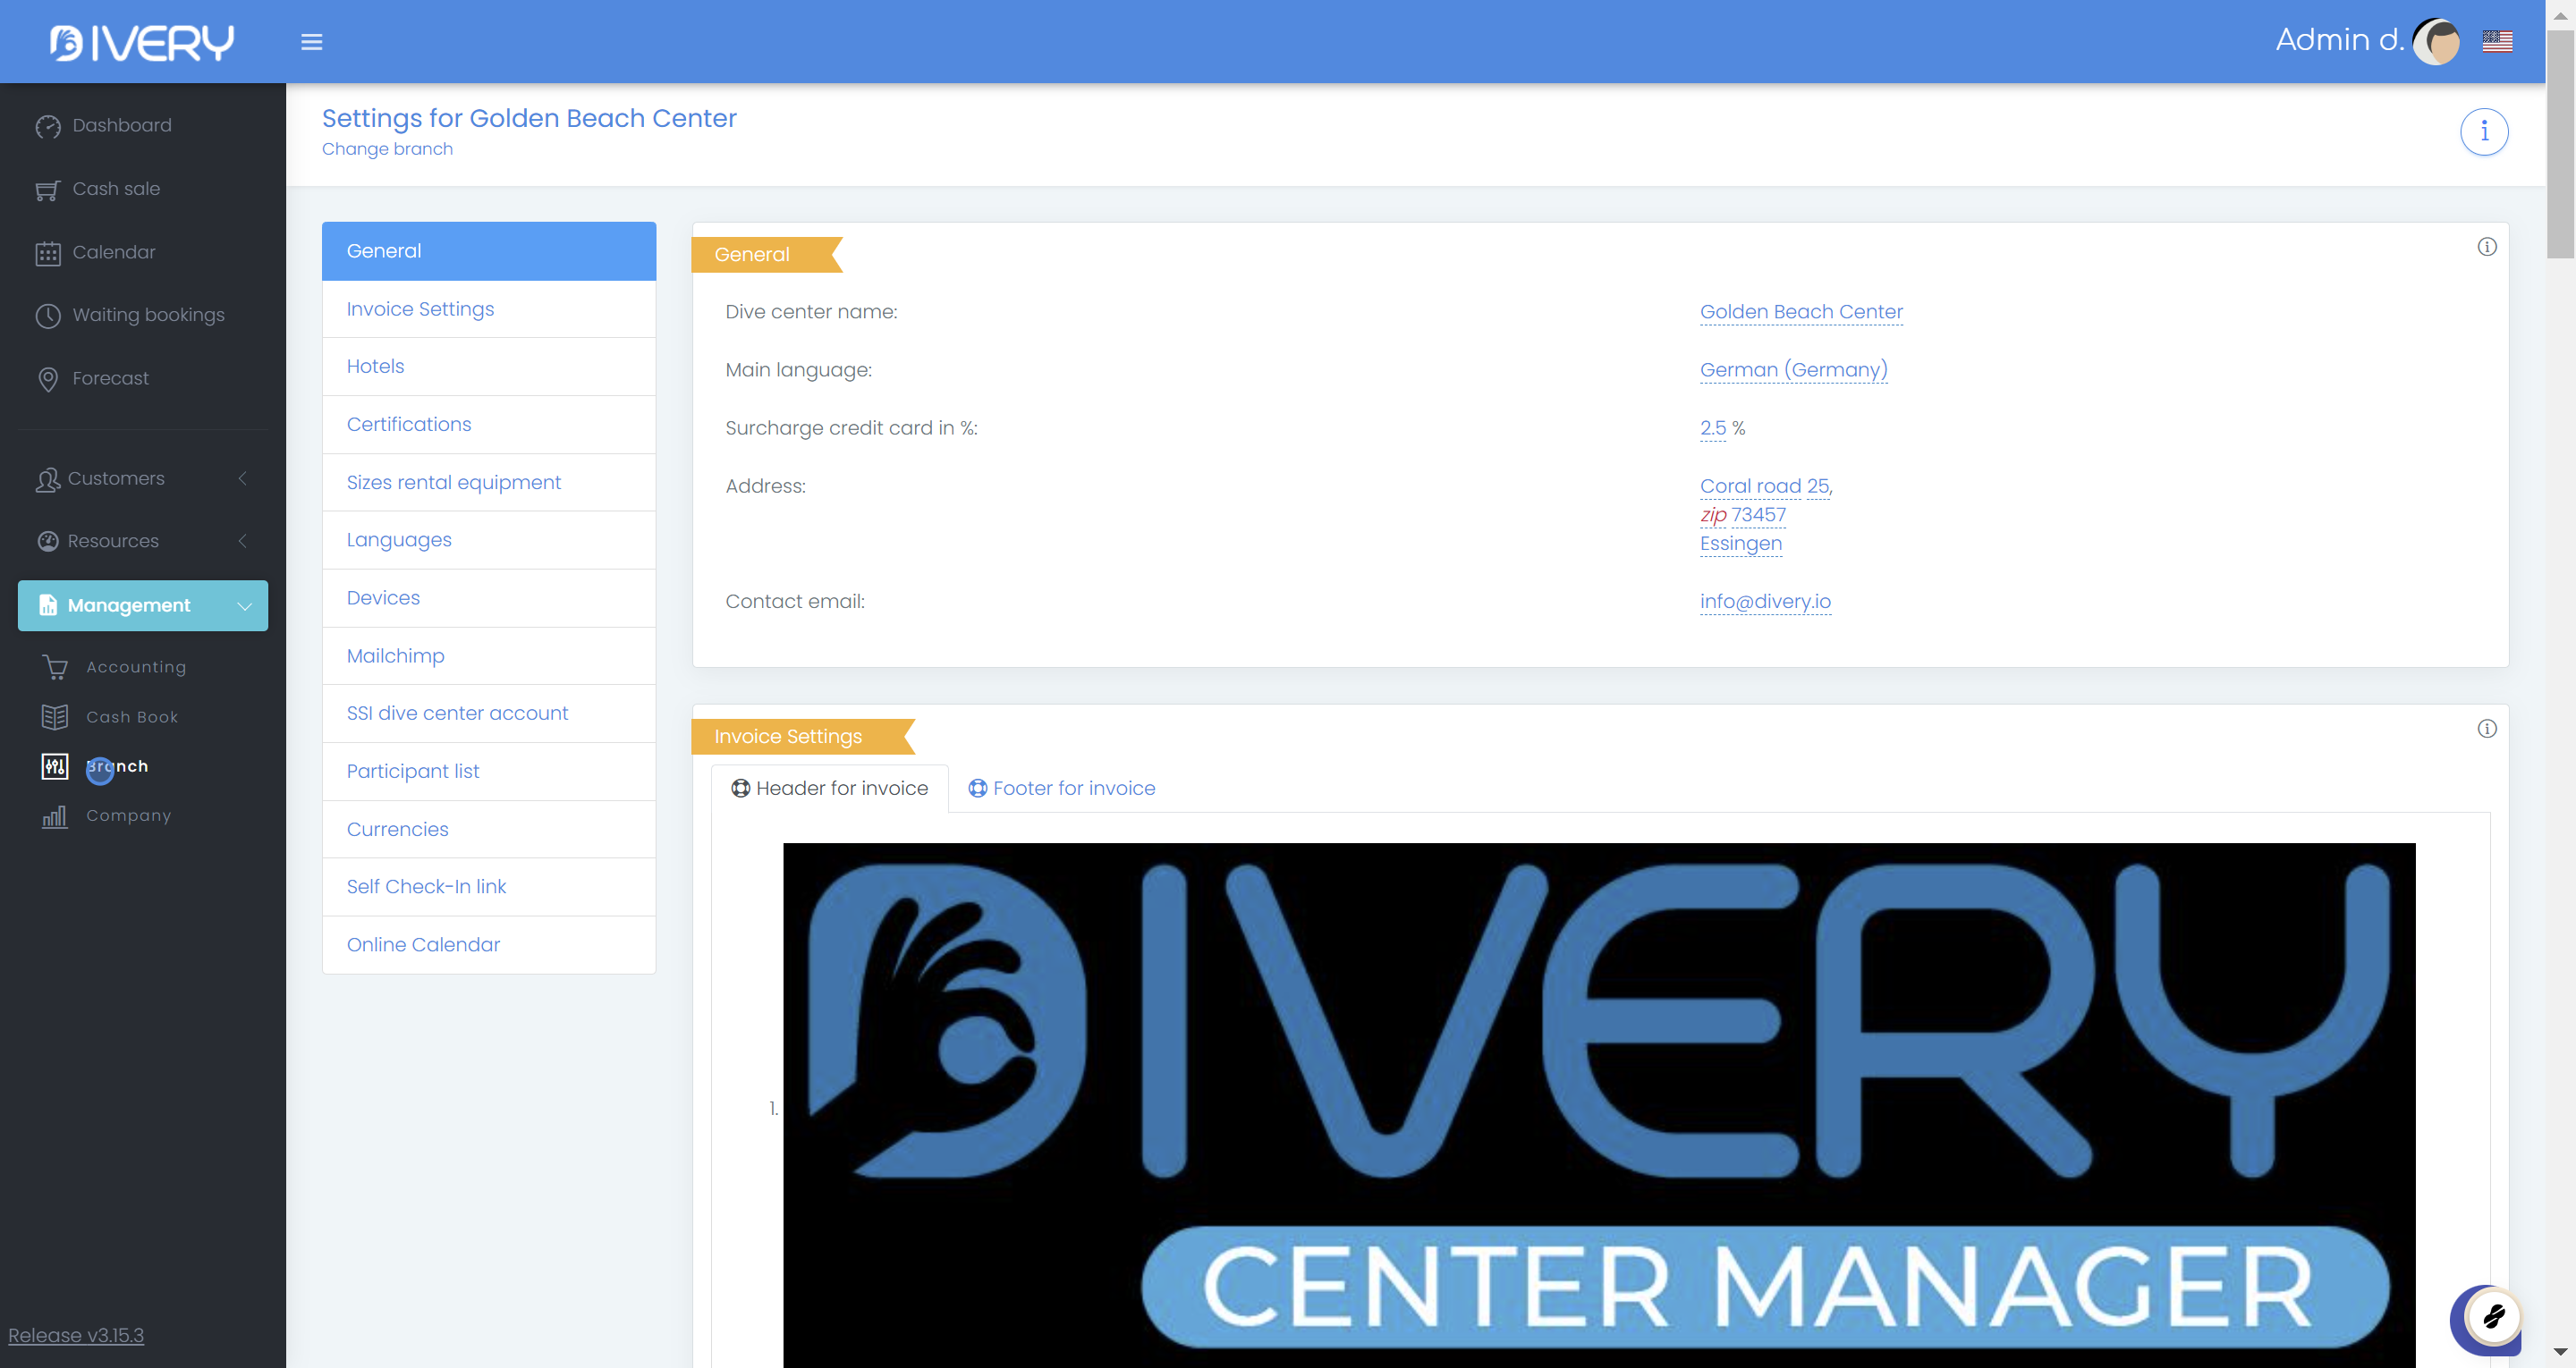
You can find the branch settings under the management tab.
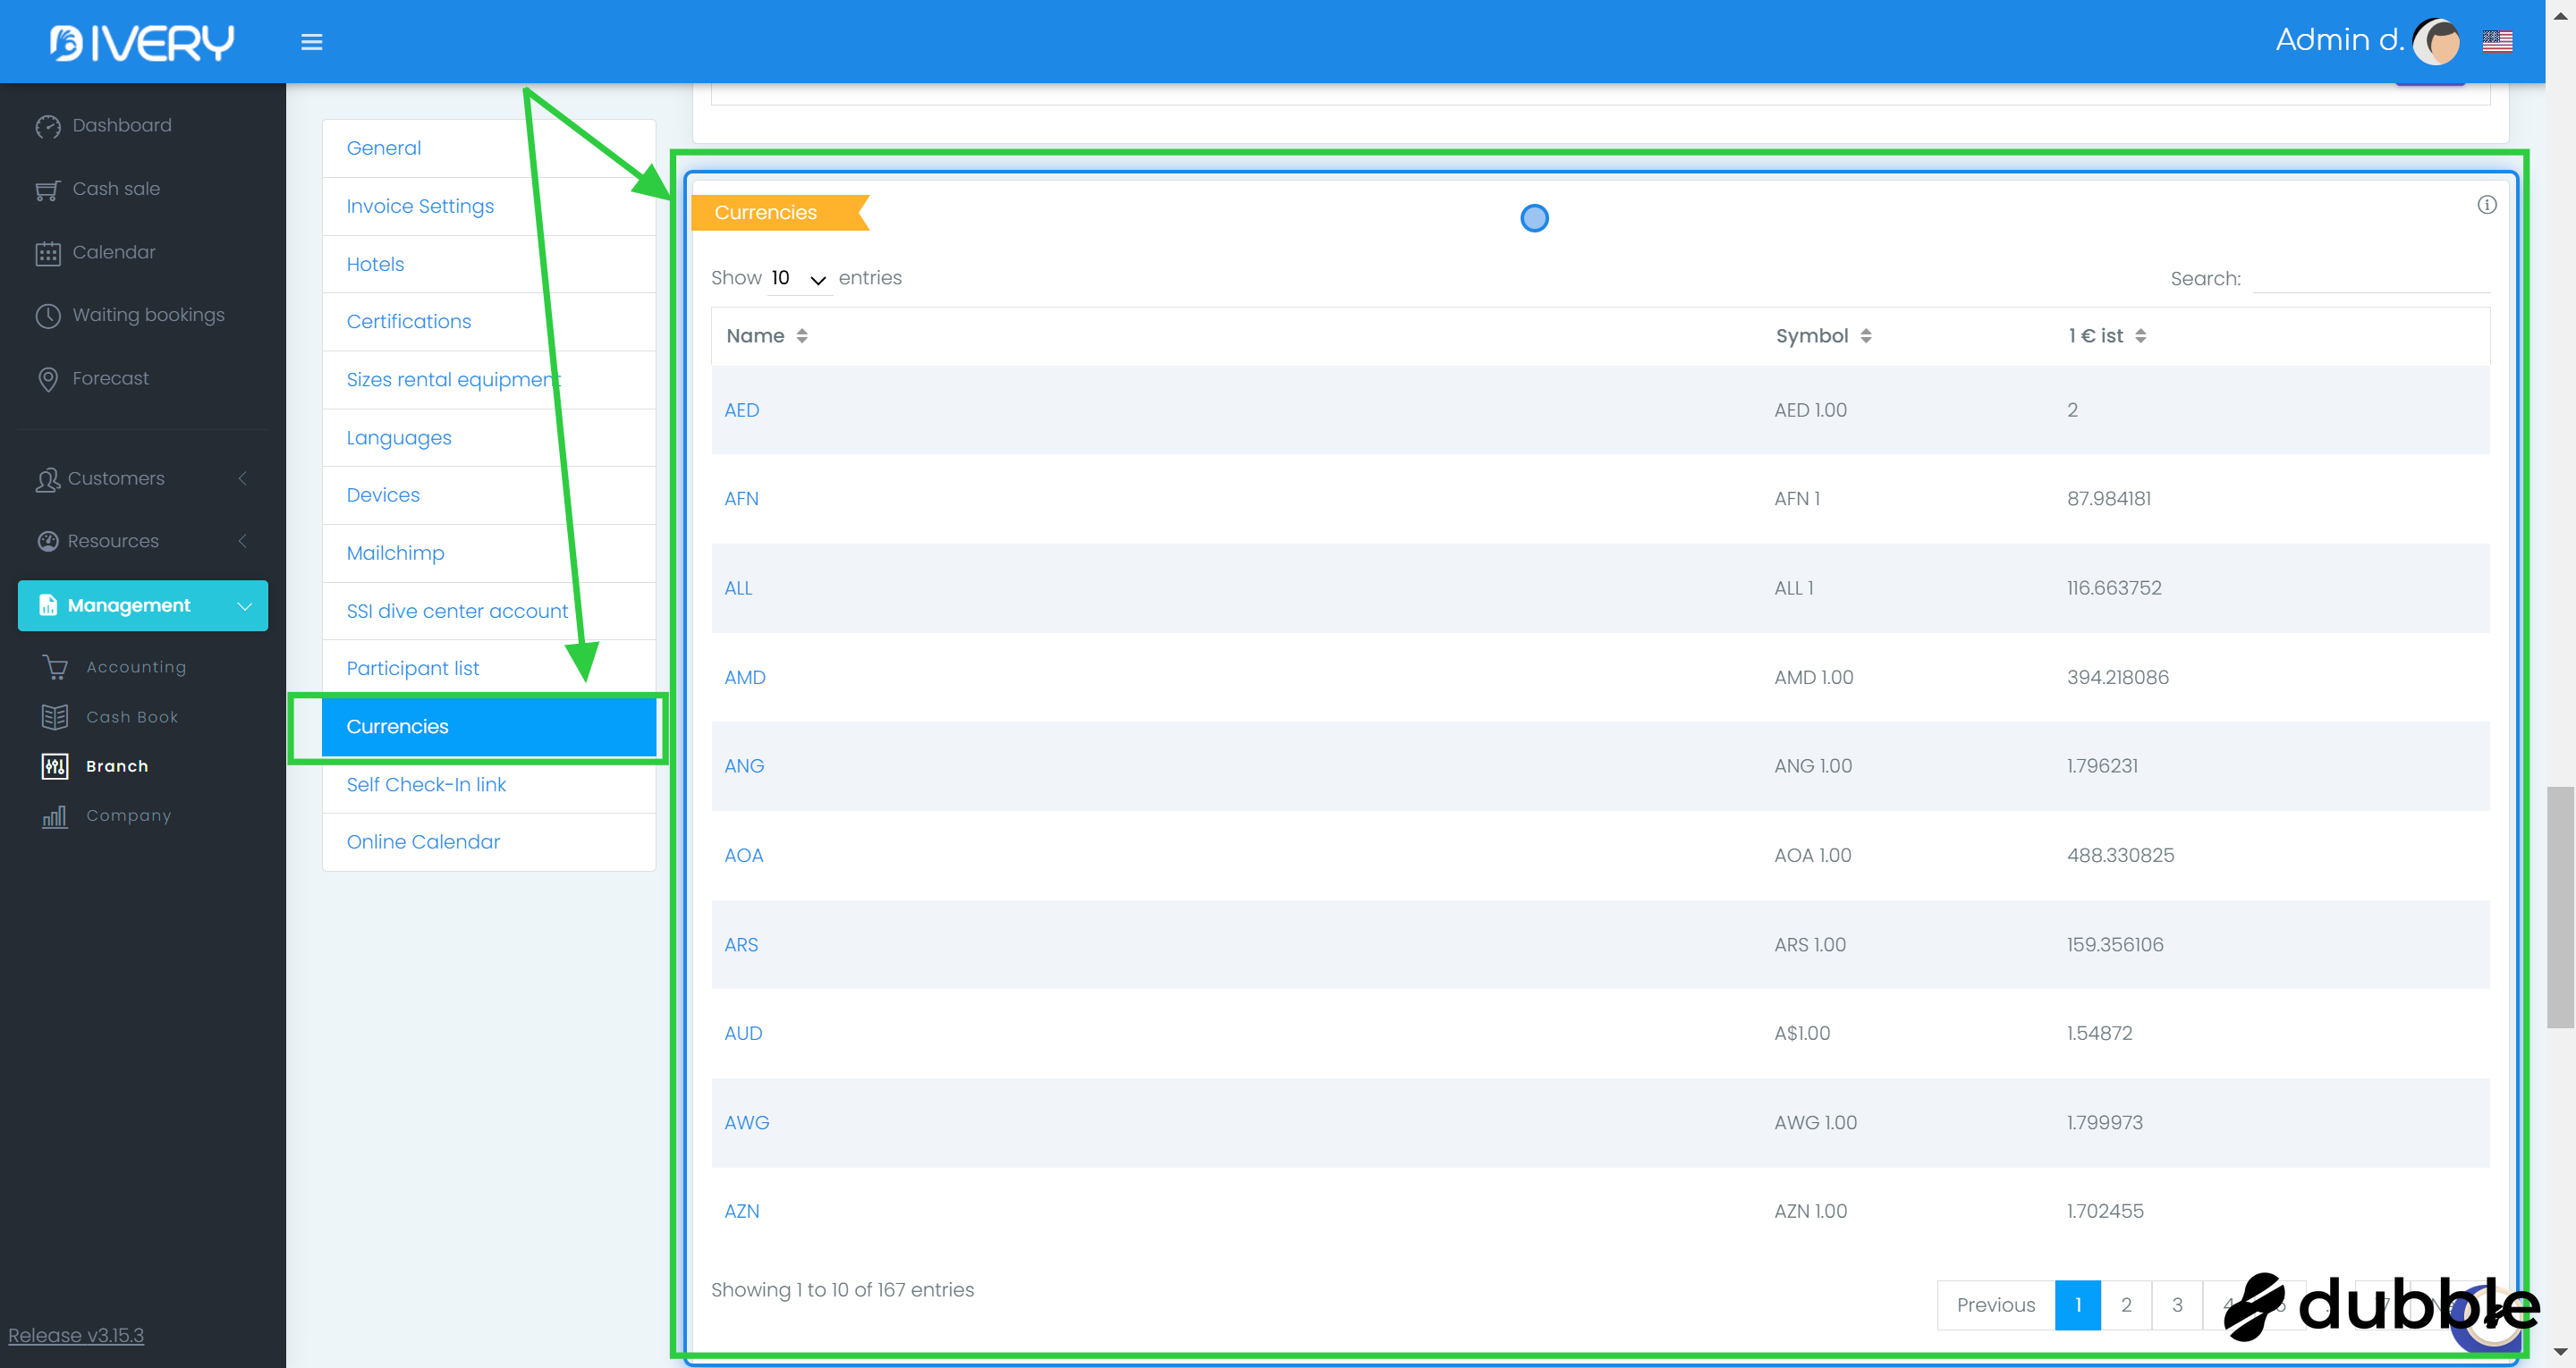
2. Click on Currencies
Click on " Currencies " or scroll down until you see the section.
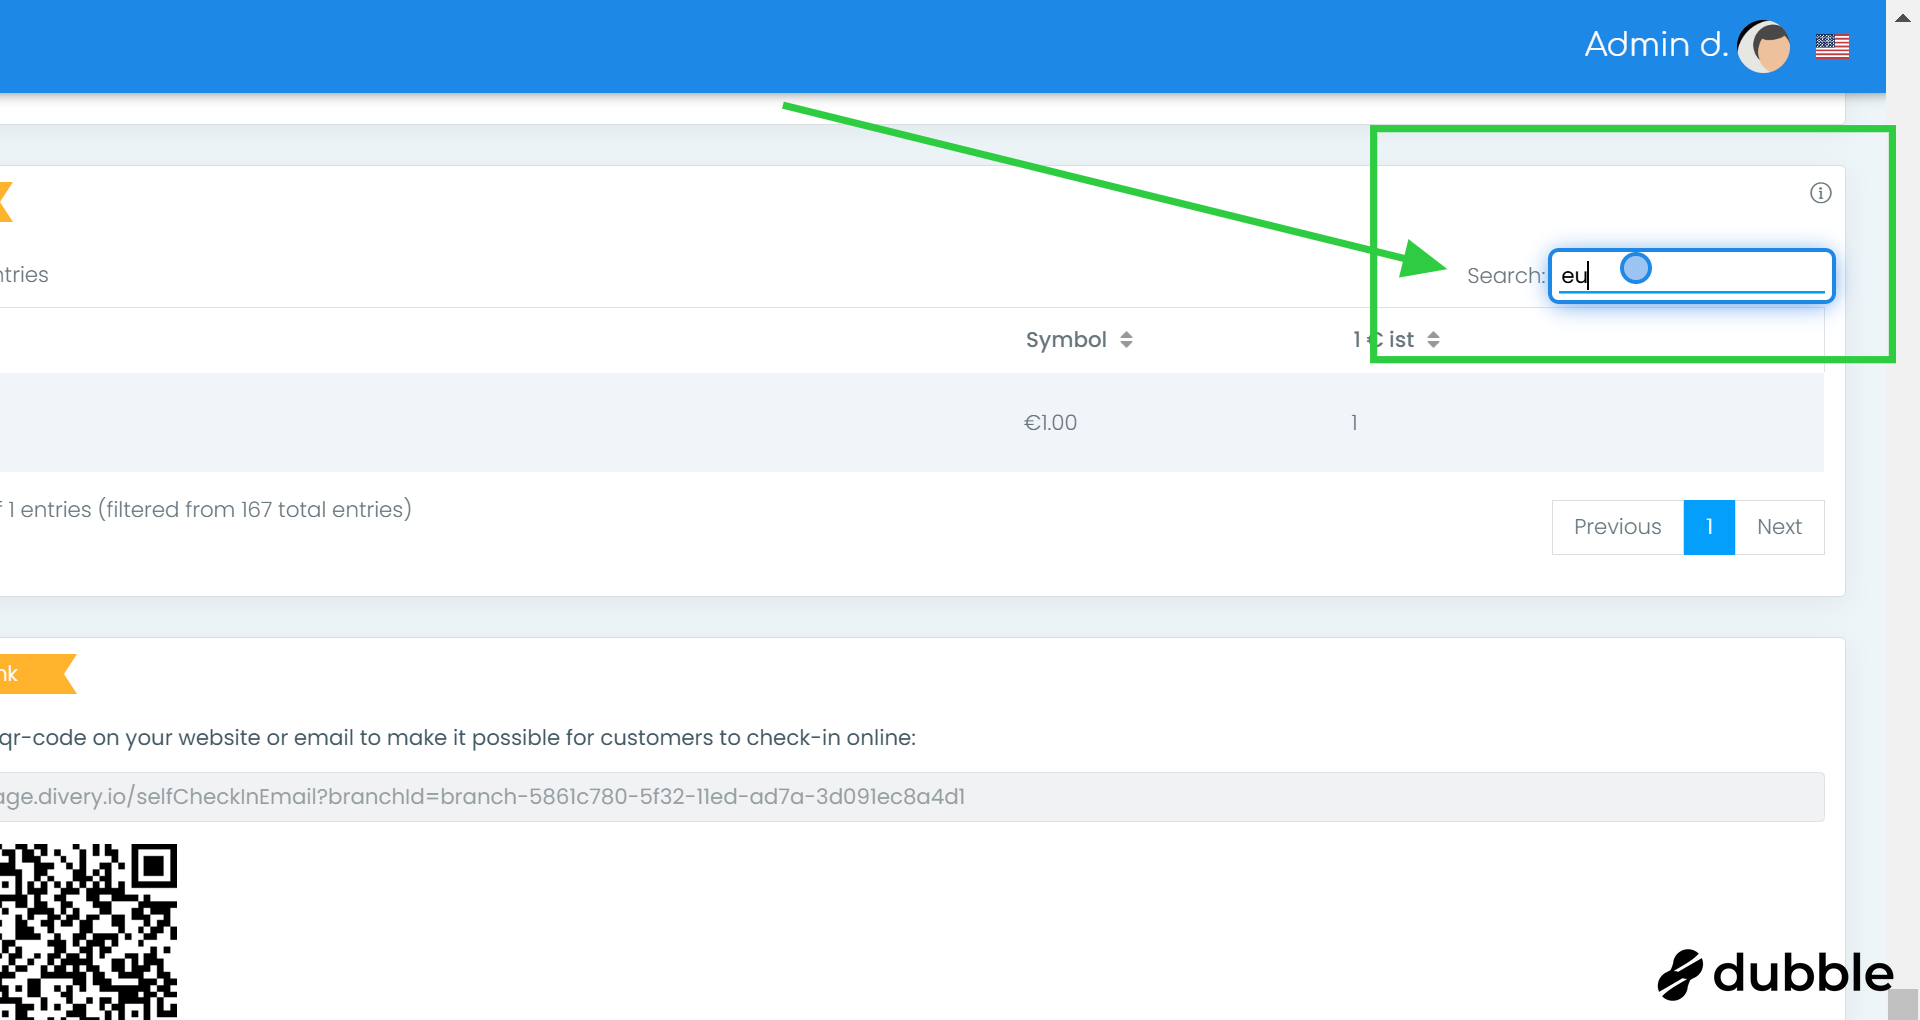
3. Search a specific currency
Click the search field on the right side and type the currency you are looking for.
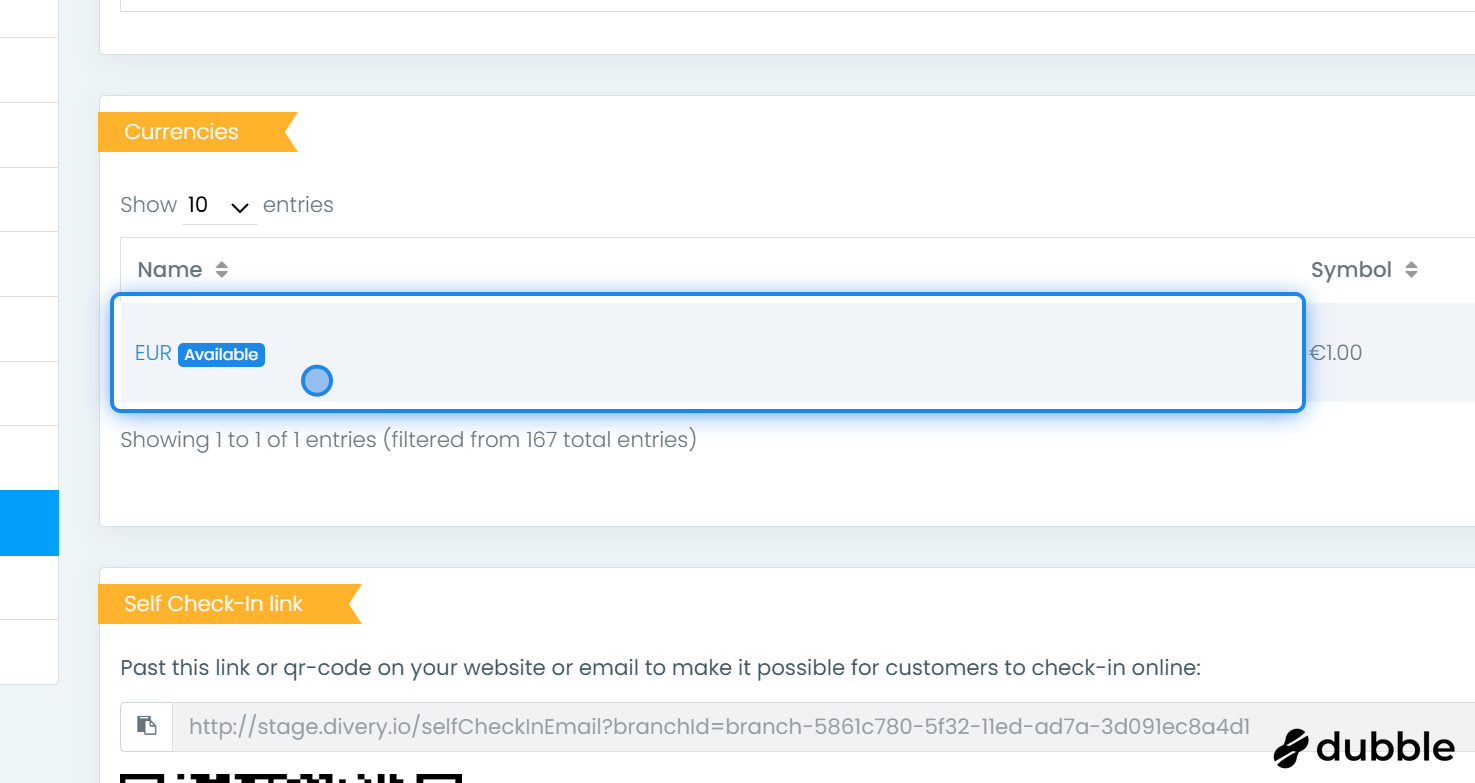
4. Click on the currency
Click on the currency that you want to add or edit.
5. The currency modal
After clicking on the currency, a modal will show where you can make changes.
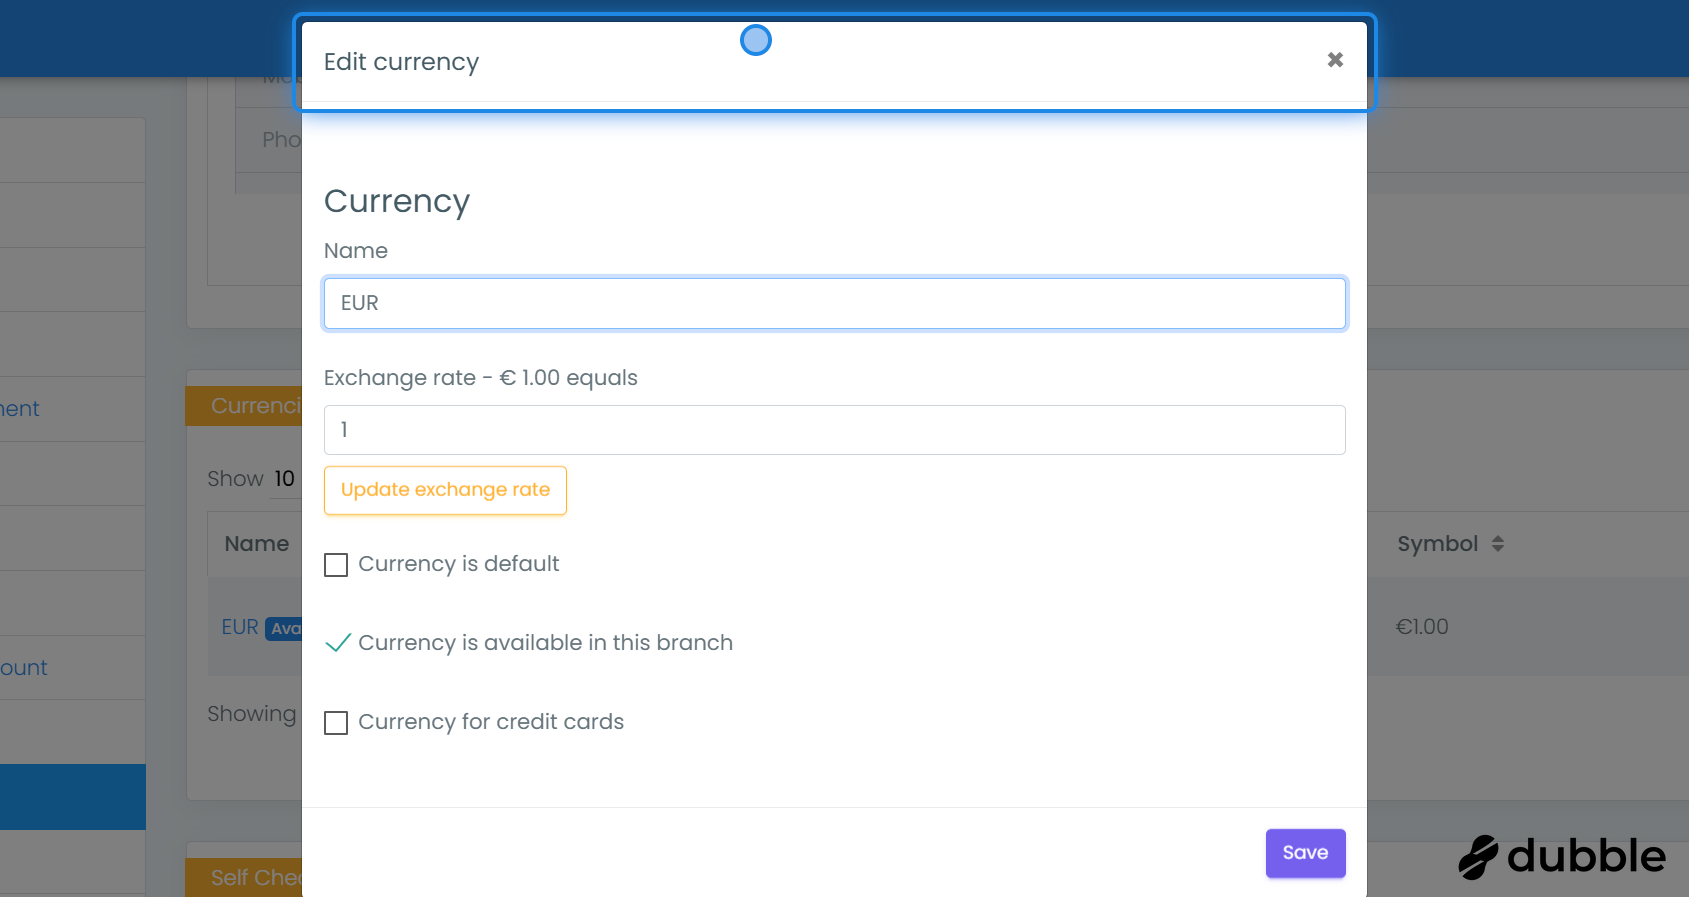
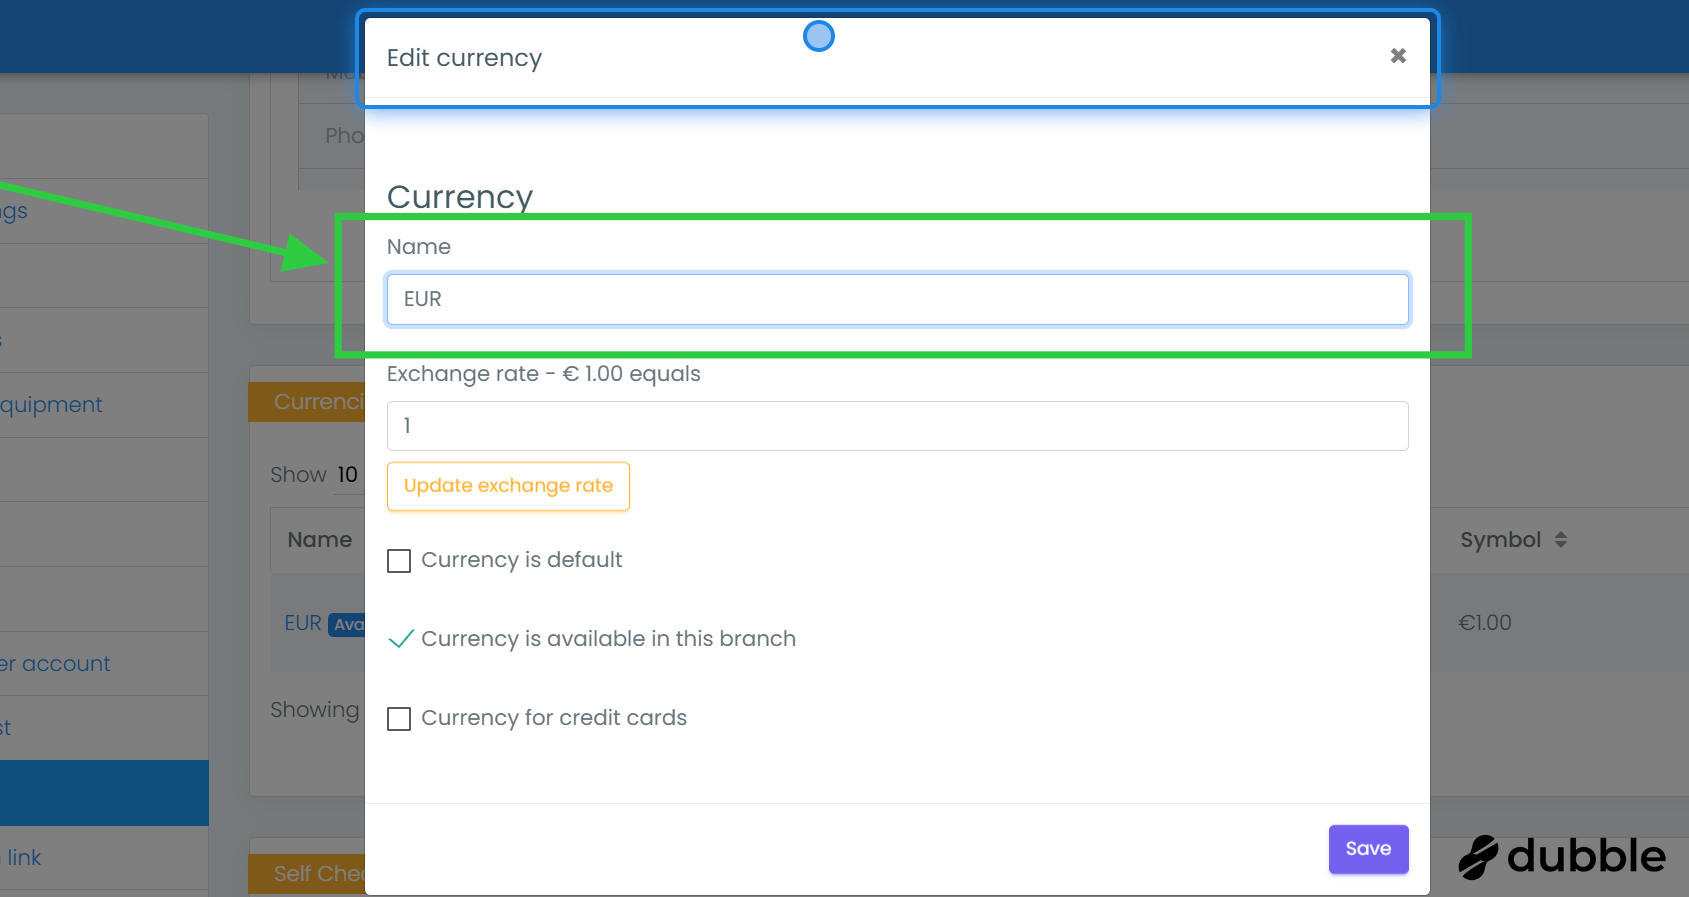
6. Change the name
You can change the default name for this currency by typing a new name in the " Name " field.
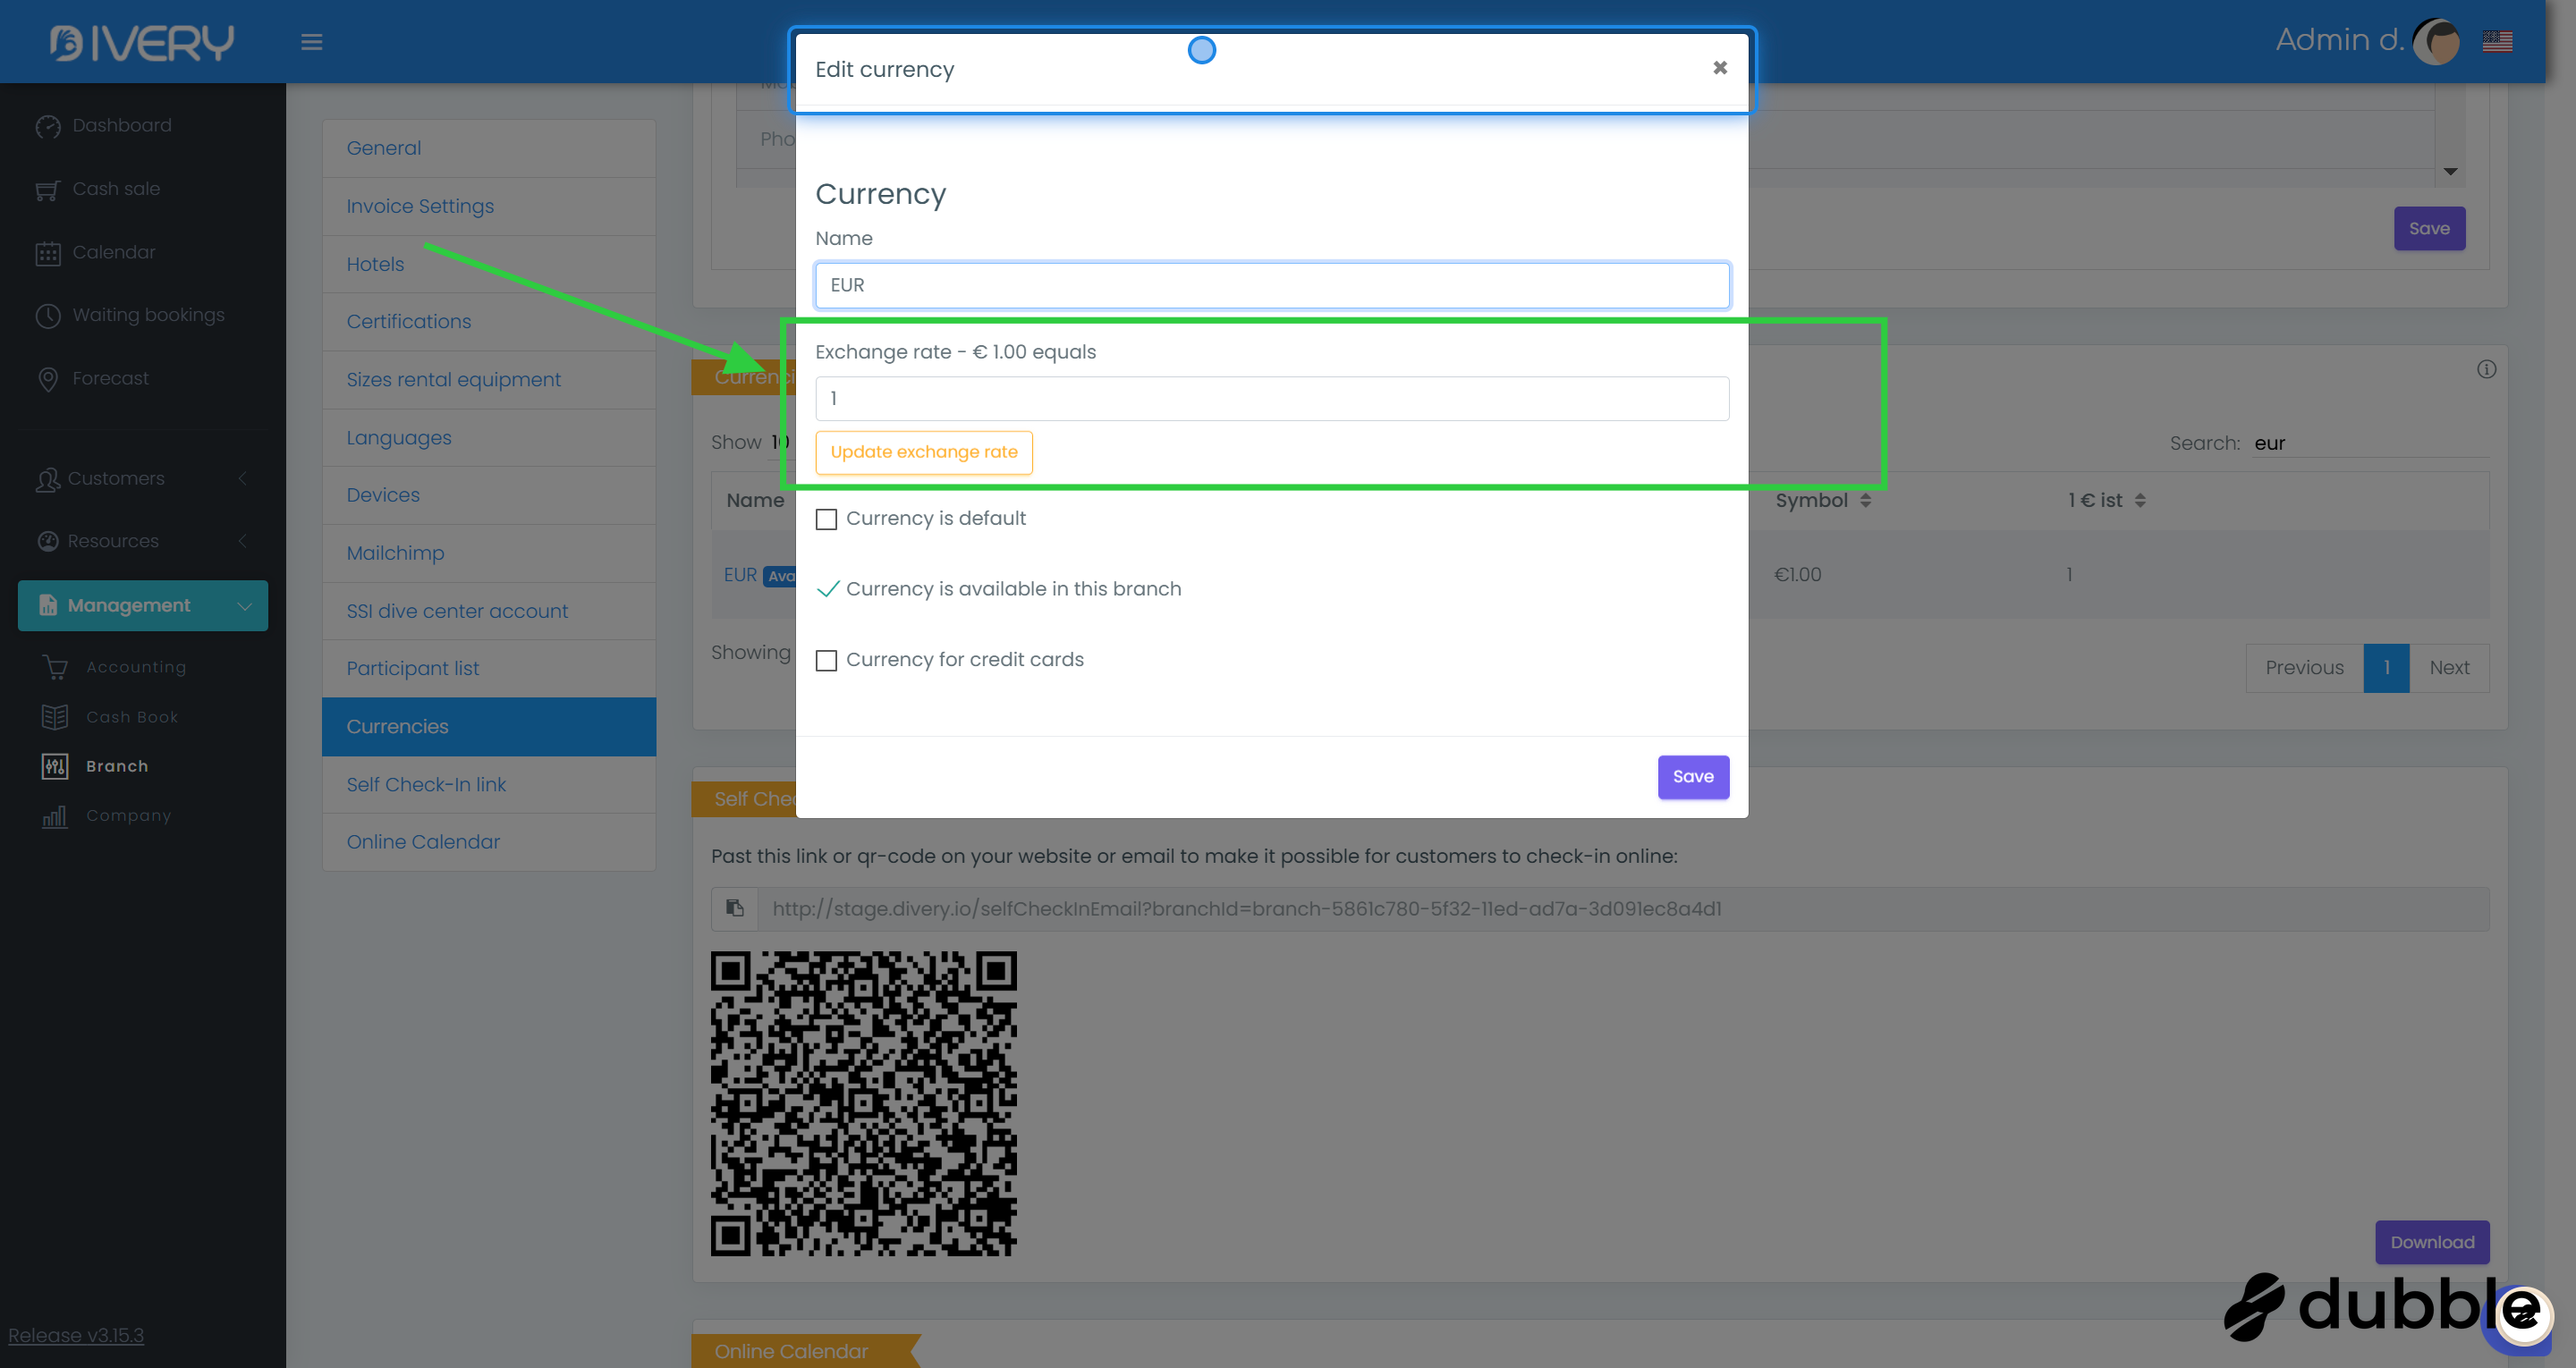
7. Change the exchange rate
You can get the latest exchange rate by clicking the " Update exchange rate " button.
You can manually adjust the exchange rate by typing a new one in the " Exchange Rate " field.
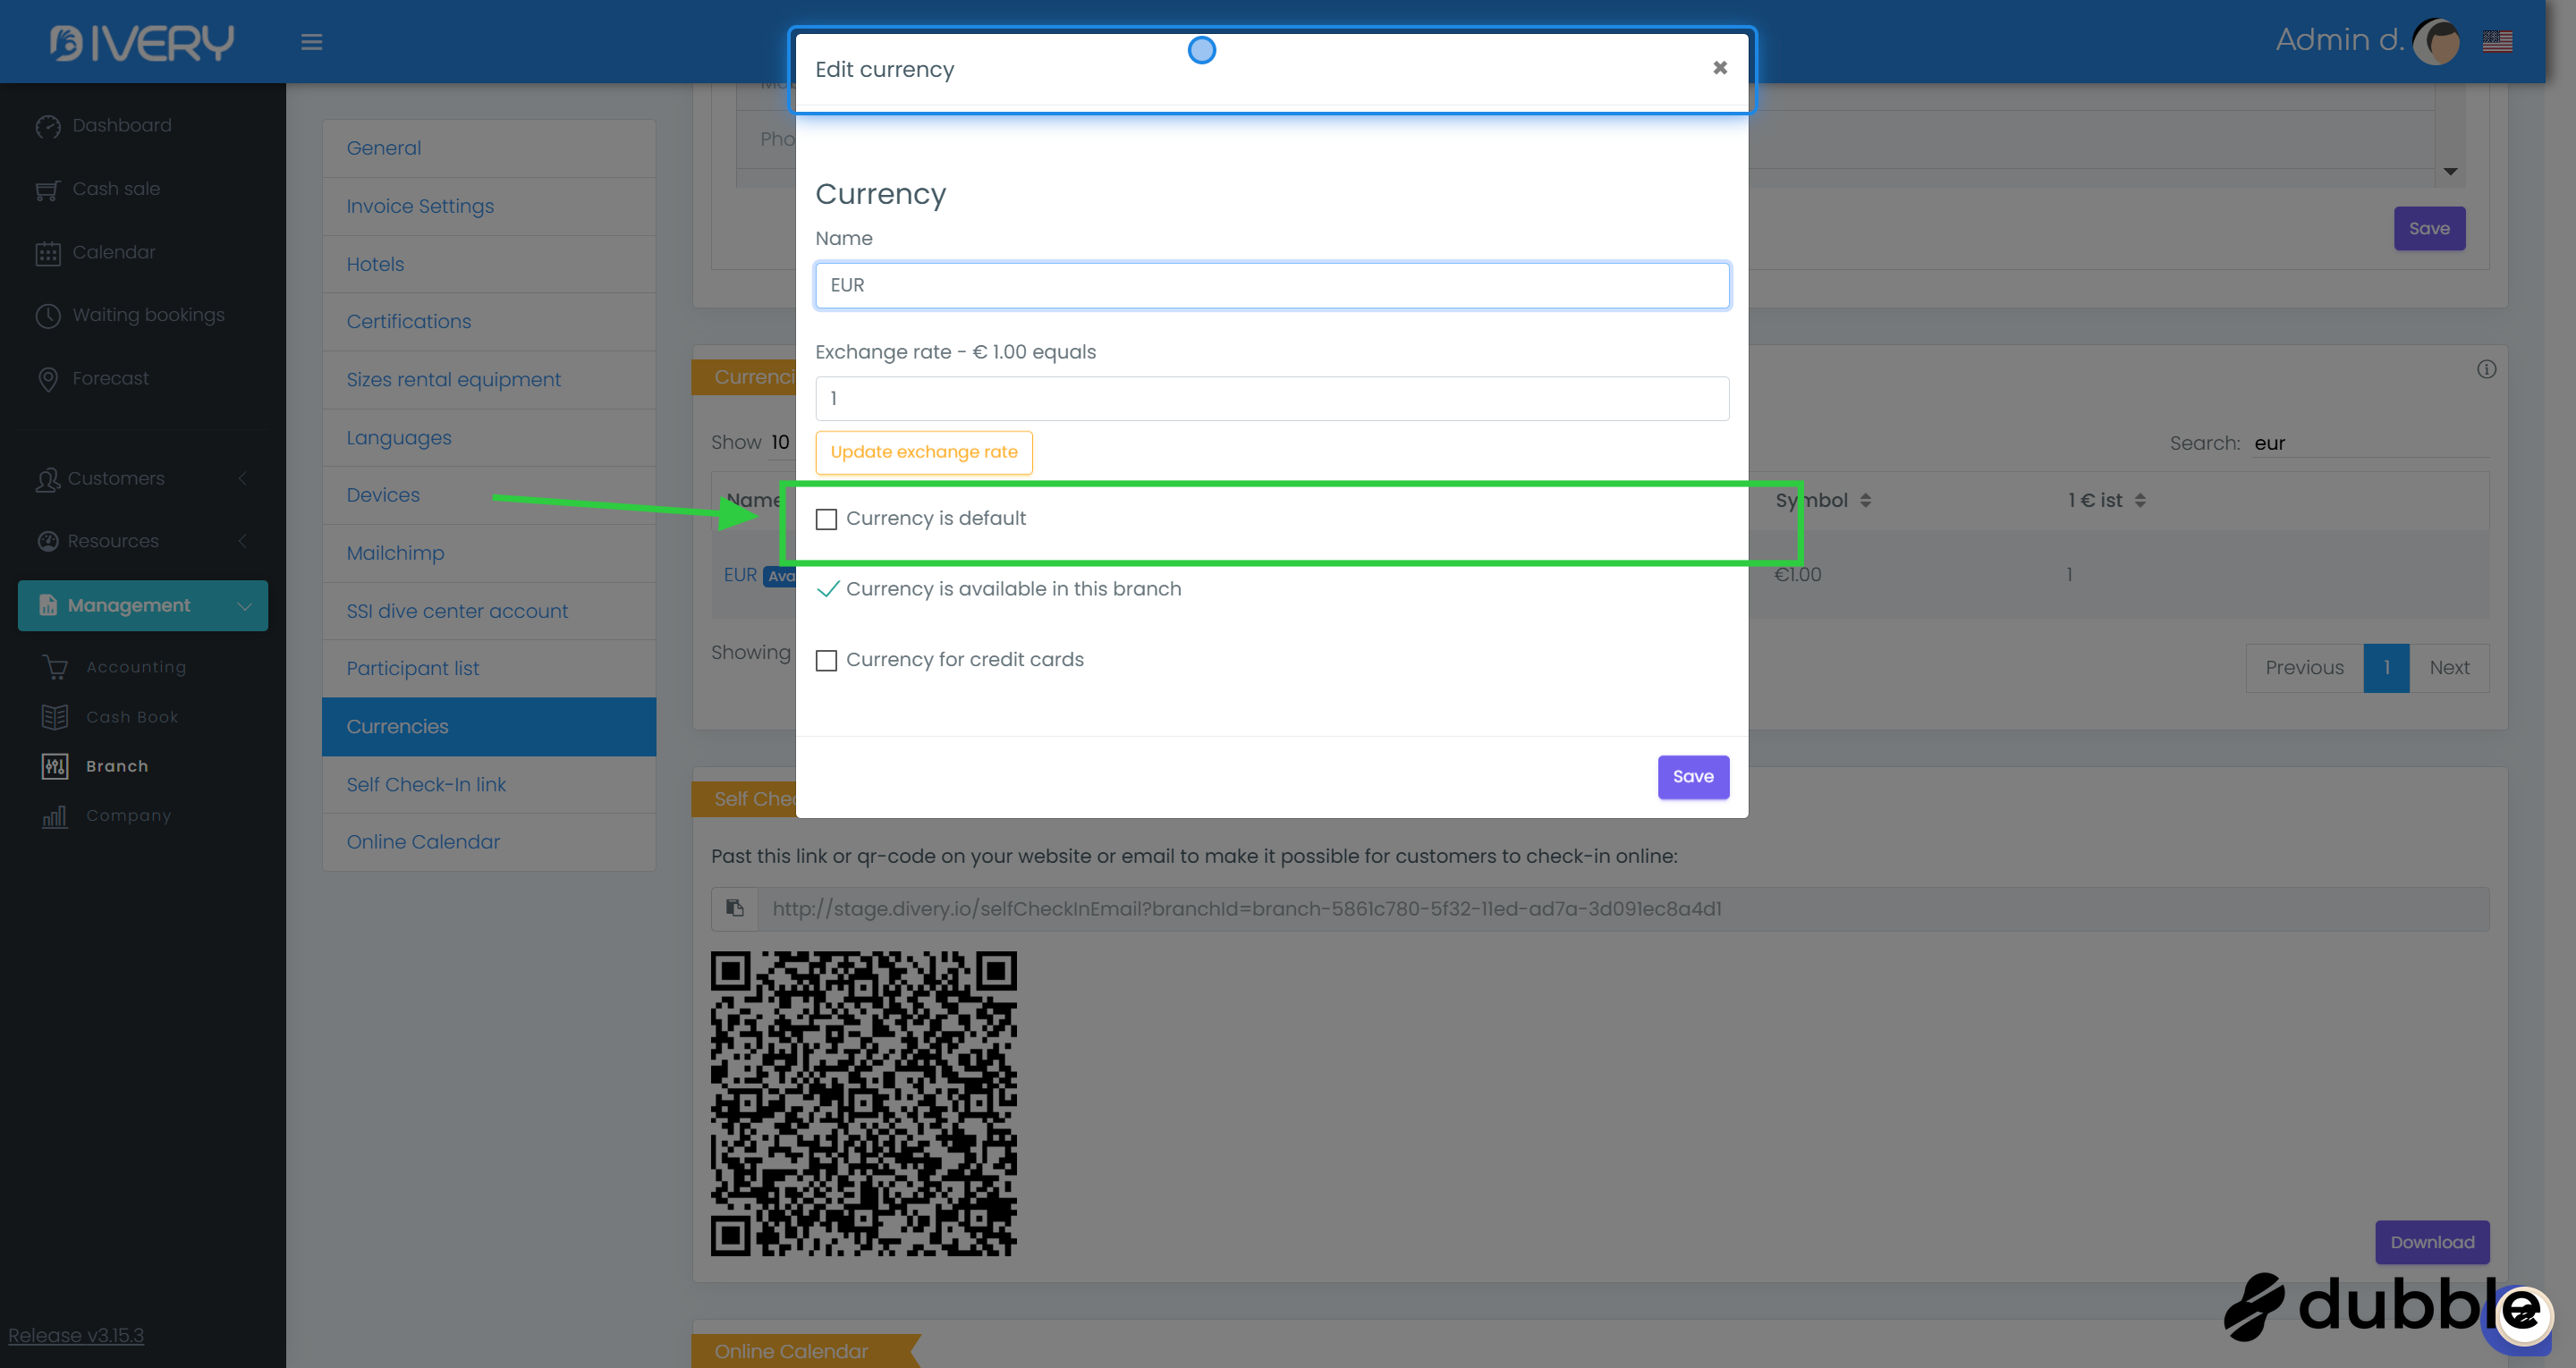
8. Currency is default
Only one currency can have the option " Currency is default " selected.
If this box is selected, all prices of products, items, and services will be displayed in this currency.
When you change the default currency, all prices will recalculated using the latest exchange rate.
9. Currency is available in this branch
When the box is checked, this currency will be available in customers' shopping carts as a payment method.

Example:
You accept EUR, USD, and GBP and EGP in your center. You can select which currency to pay an invoice in the shopping cart. You can use multiple currencies to pay an invoice.

10. Currency for credit cards
When the box is checked, this currency is used for credit card payments.
If a customer pays with a credit card, this is the currency used by your center.
 info: Only one currency can be used for credit cards.
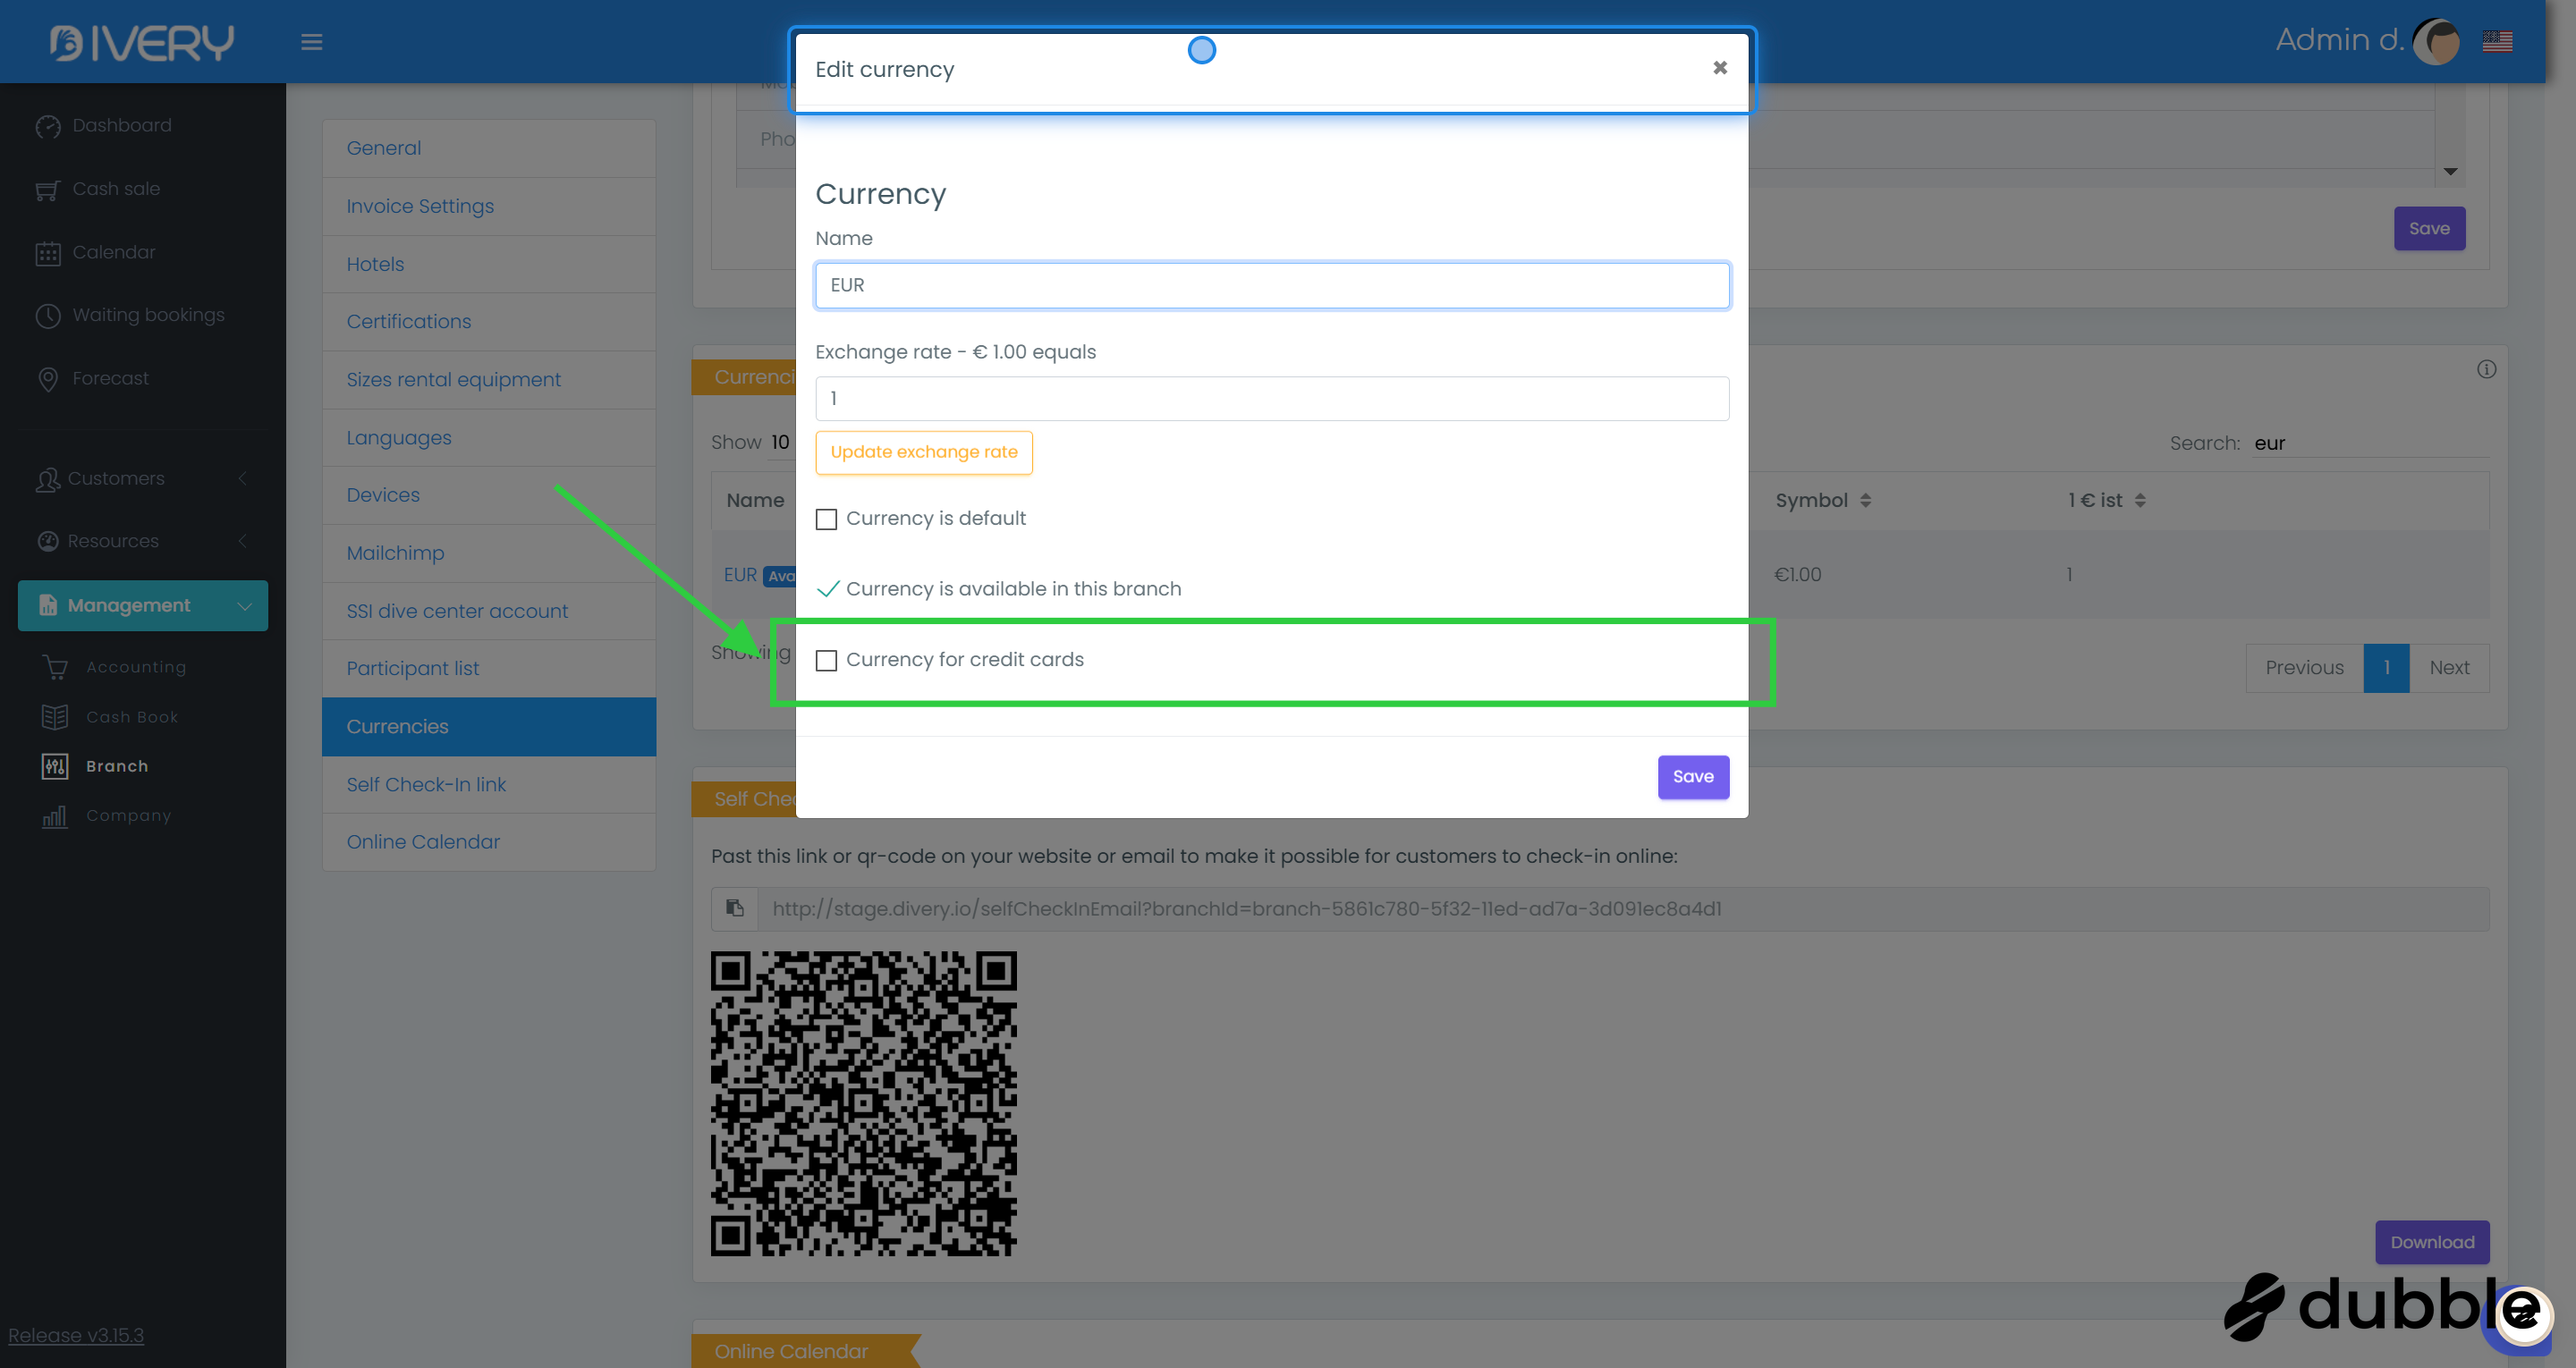
11. Click "Save"
Click the " Save " button to save your changes.

Related Articles
General Settings
Learn here how set the general settings for your center 1. Go to the Branch settings You can find the branch settings under the management tab. 2. Click on General The general settings are on top of the page. You can also click on " General " if you ...Participant list settings
Here, you can customize your participant list. Participant lists are used for trips you create in the calendar. A participant list will be created for every trip you make in the calendar. With these settings, you can change the information displayed ...Create certifications
Here, you can create all the certifications needed at your center. If you prefer, you can name the certifications general or specific to each dive organization. 1. Go to the branch settings You can find the branch settings under the management tab. ...Create rental sizes for customer equipment
Here, you can create all the rental sizes needed at your center for BCDs, wetsuits, fins, boots, tanks, and weights. 1. Go to the branch settings You can find the branch settings under the management tab. 2. Click on Sizes rental equipment Click on " ...Add languages available for customers
You can add a language to a customer so you know what language this customer is able to understand. You can add as many or as few languages from the list. 1. Go to the branch settings You can find the branch settings under the management tab. 2. ...